10 ways to make your gravel bike more comfortable
So you bought your gravel bike and you've planned your routes and started exploring some of the rougher tracks you’ve been looking enviously at for the last few years. The bike has been great and you have re-found your love for riding again be it on rutted roads, bridleways, or forest trails. The lack of traffic and the ability to sneak away into the green has been rewarding as has the quietness you’ve found.
- 11 Gravel products you never knew you needed
- The best gravel and adventure bikes for under £1,000
- Bikepacking - Exploring the roads less cycled (book review)
But what if everything is not quite as expected and your steed hasn’t offered up quite the comfort that you have been hoping for. Assuming that you have bought the right size bike and are not overstretched or cramped up then this checklist will help you find more comfort on the rougher surfaces
So in ascending order of cost we’ll advise some options to improve your comfort.
1) Tyre pressures - £0
Let some air out of your tyres! If you have come from a road bike where 80-100-120psi is normal on your 25-28mm tyres, you really need to press the top of that Presta valve and let it down. How soft? Well, if you still running tubes (more on that in a moment) then don’t go crazy at first but look at the tyre and read what it says. 650b tyres tend to be 45mm wide and upwards so they can run a little lower than their 700c x 38mm siblings. 30-40psi is a good initial guide – 40 is top whack, honestly.
The best bit is it's free of charge. Just don’t go too low or you’ll give yourself a snake bite puncture.
2) Handlebar comfort
A. Handlebar tape - From £15
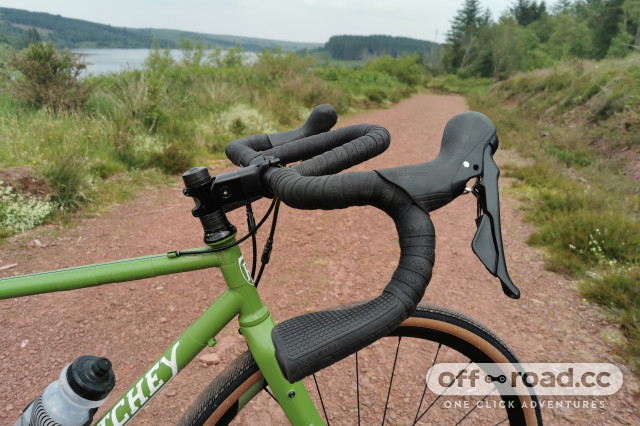
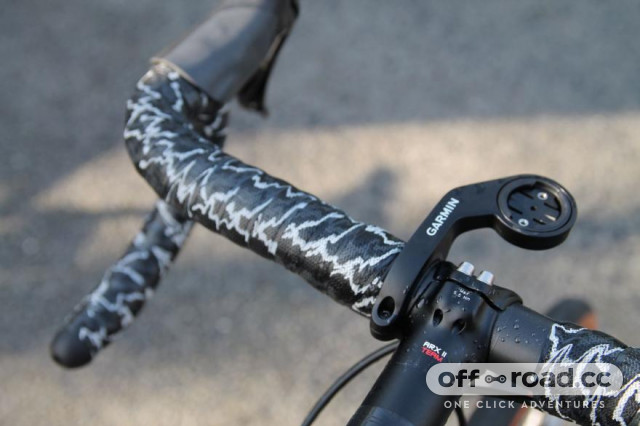
Have a good squeeze of your handlebar tape. Is it soft and grippy? If it’s the stock bar tape from new it will most likely be a little on the thin side and can definitely be improved upon.
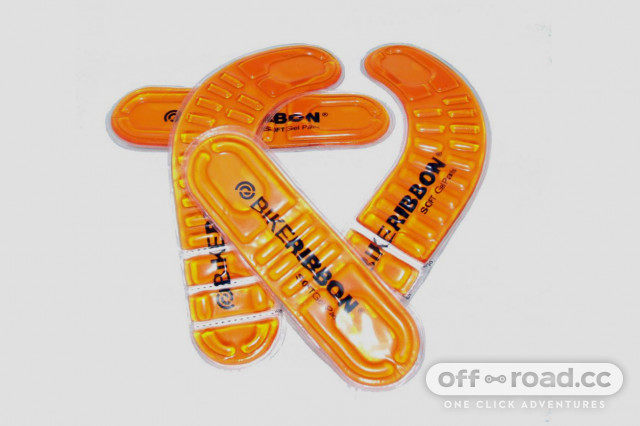
A good guide for gravel bikes is to look for a tape that is at least 3mm thick and feels grippy or tacky when damp/wet. Most shops will sell a version or two like this and there are ones at higher prices that come with gel pads as well.
B. Handlebar padding
Padding is easiest to fit when you are fitting new tape but if your existing tape is not stuck on, unwinds cleanly and is re-useable, this might be worth a go before buying new. You can buy specific under-tape pads or you can go the DIY route and use an old inner tube wrapped onto the bar in all the main pressure points.
Redshift not only make pads to fit under your tape but they also make grips for the end of your drops called the Cruise Control Drop Bar Grips (quite a mouthful) which provide more support and comfort for your palm than just tape - From £37.
C. Double wrapping - From £10
Wrap a second tape directly over the top of the first. You might find that the new tape isn't long enough due to the diameter increase or that a very fat bar doesn't work for you, but some people swear by this method of adding comfort.
Both double wrapping and under tape padding have been used for years in the brutal Paris-Roubaix race to give the pros extra comfort and are both cheap options to try.
Also, don't forget that you might need longer tape to go around any extra gel pads and grips that you have fitted
D. Flat bar options - From £20-35
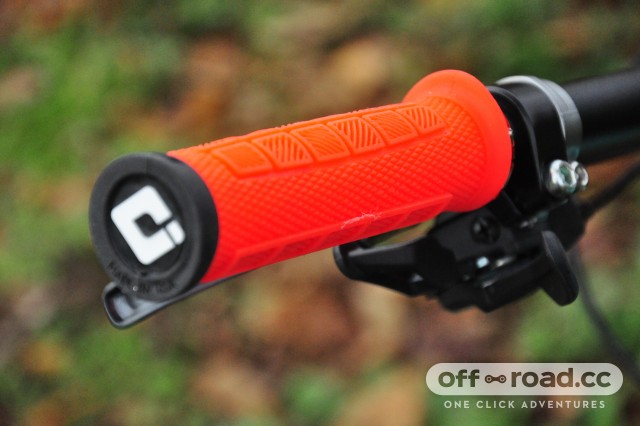
If you're running a flat bar on your gravel bike then aftermarket grips will probably give you more comfort than the ones that came fitted on your bike when new. Perhaps the most famous grip maker is ODI which offers a semi ergonomic grip from their Elite line. The Pro version is definitely worth a look as Anna gave them a full 5/5 for comfort.
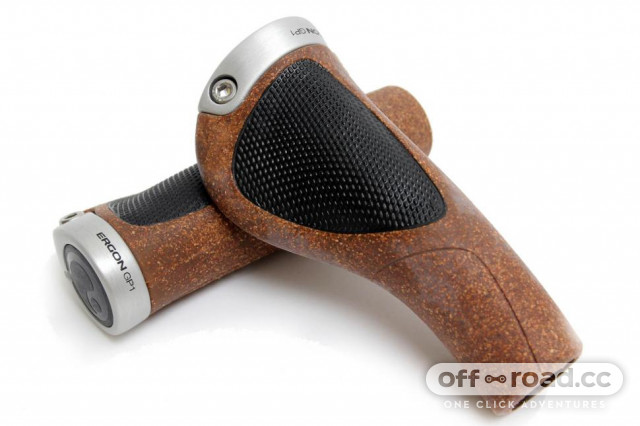
For an even more ergonomic shape look no further than Ergon's paddle-shaped grips that provide comfort for the heel of your hand. Several versions offer an adjustable bar end option which provides extra handholds which are extremely useful on long-distance rides
3) Going tubeless - From £50
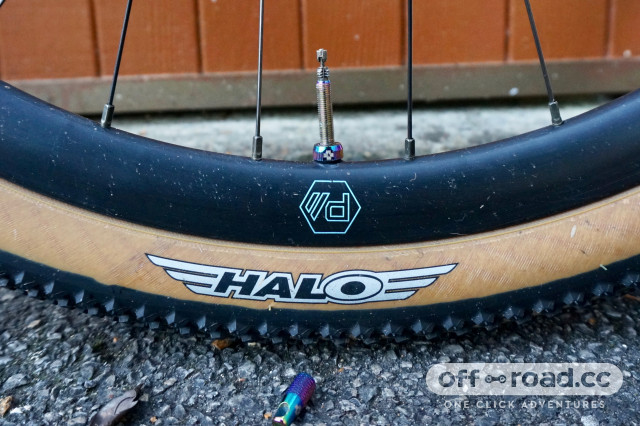
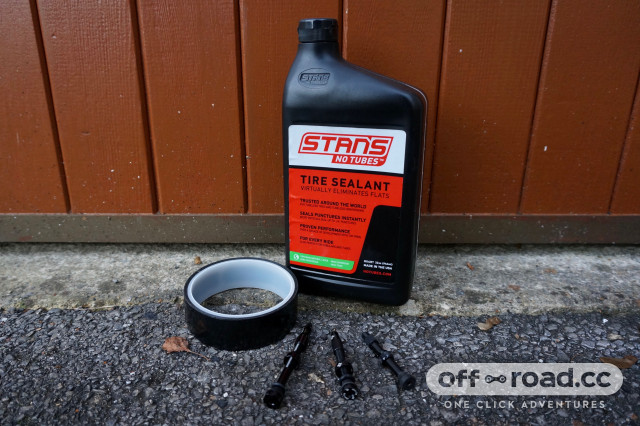
Converting your wheels to a tubeless system helps you avoid punctures, increase comfort, and improve the overall riding experience, as long as your rims and tyres are ‘tubeless ready’. Simply setting them up and running your tyres at lower pressures (think 30psi or lower) with no risk of snake bites will give you more comfort and control.
Check out Liam’s excellent guide on how to convert your bike to tubeless here for how to set your wheels up tubeless.
You're looking at around £50 for valves, rim tape (might be installed already), and sealant. Although you might need a decent track pump to inflate the tyre, it's not always necessary.
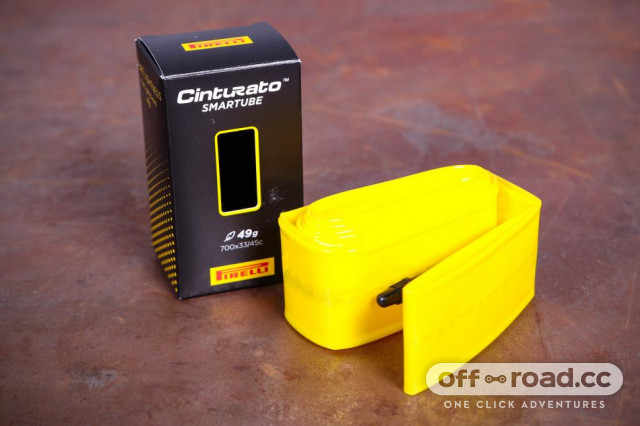
Unfortunately, if your rims and tyres are not tubeless-ready it is a more expensive solution and more of a wheel upgrade, but one that is well worth it in the long run. If your rims and/or tyres are not tubeless-ready you can try using latex or TPU tubes which will improve your ride feel and in some cases increase your puncture resistance - From £18.
4) Gloves - From £20
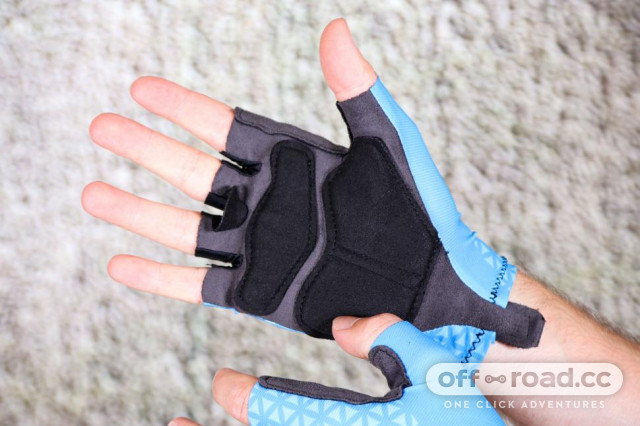
It might be worth looking at gloves with gel pads in the pressure areas of the palms. Not everybody gets on with padded gloves, I don’t, preferring my padding to be in the tape, but they're worth a try. Gloves like Lusso’s Momentum summer glove have just the right amount of padding, according to tester Stu, and only cost £20.
At the other end of the market Q36.5's £56 Unique Gloves have inserts designed by Elastic Interface - the people responsible for some of the best chamois' in shorts so they know how to provide comfort. Read Mat’s review here.
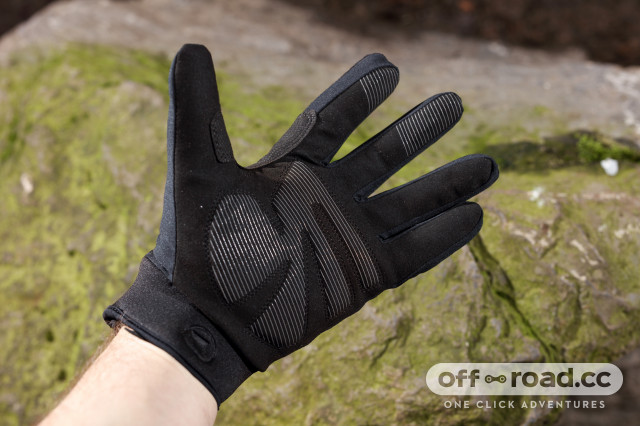
If you prefer full finger gloves have a look at Endura’s Strike II gloves or for a winter option, check out Galibers' Barrier Deep Winter gloves.
5) Shorts with a padded insert - From £45
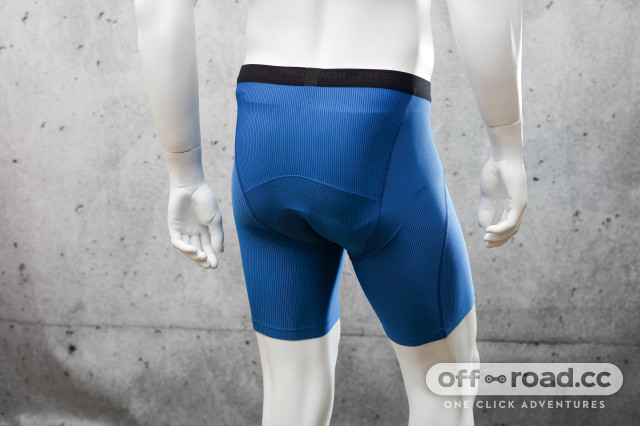
It might be a surprise to some of you that a really good pad between you and your saddle can make a ride much more comfortable. Shorts, like gloves, are a tricky product to recommend as everybody is made slightly differently but it's def worth trying some if you haven’t done that before. It might help to alleviate pain in your sit bones and lower back. These 7mesh Foundation boxers are fantastically comfortable. If you prefer the bib type of shorts then take a look at DHB Moda and Blok ranges.
- dhb MODA Bibs (£40) // dhb Blok Bibs (from £45)
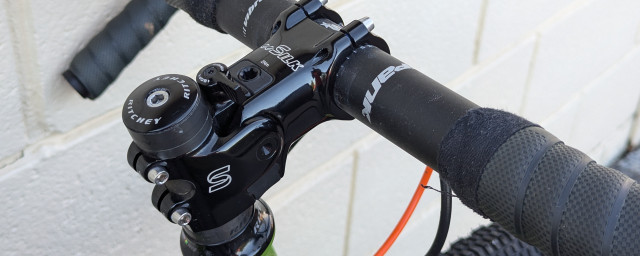
6) Suspension handlebar stem - From £170
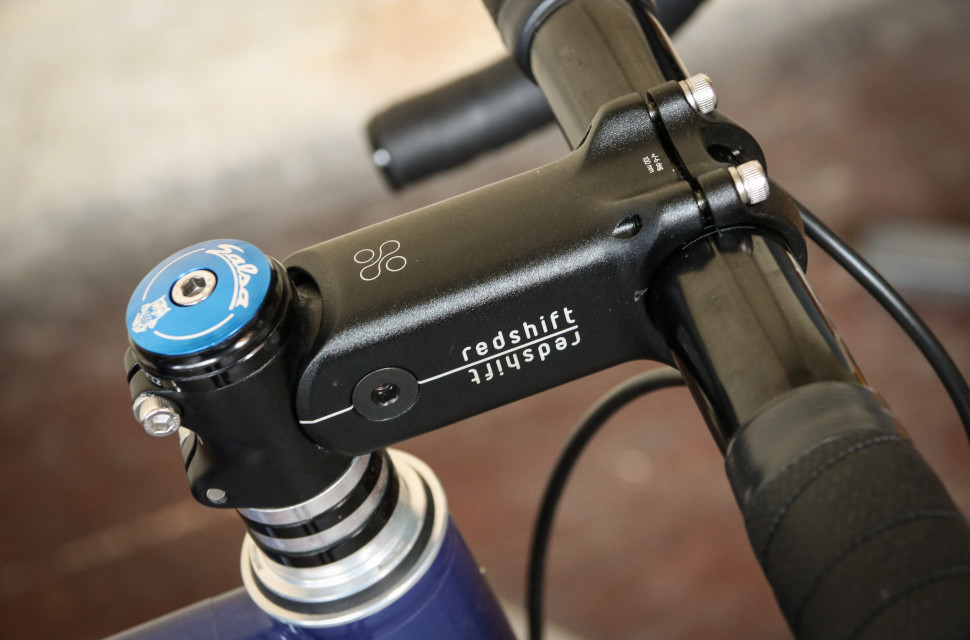
This is a relatively recent return of an old idea and at the moment Redshift’s Shockstop Suspension Stem and Kinekt Suspension Stem appear to have the market pretty much to themselves.
We really rated the Redshift stem, being 200g lighter and £20 cheaper than the Kinekt, but they are both good and provide a 20mm of travel at the hoods, which can make a huge difference to the sharp edges on rough surfaces. Both are adjustable for a rider's weight and taste and can be used on both drop bars and flats. They weigh a little more than a standard stem (in Redshift's case) but the benefits far outweigh the weight penalty, especially on rutted gravel.
7) Flared Handlebars - From £45
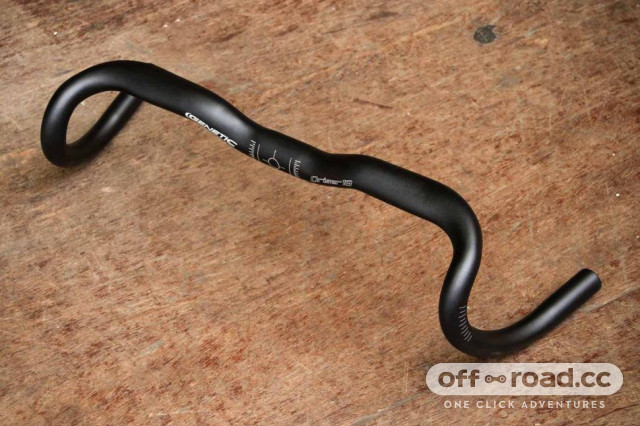
Wider flared handlebars with shallower drops and flatter tops can improve your comfort tremendously over more traditional round deep drop road bars. The angle of flare and width seems to be increasing every year with several options over 50cm wide. Check out Jon's article here for the largest of those. In truth, a 2-4cm width increase with a shallower drop will help improve your handling and comfort on the gravel – even better if they have flatter top sections. Some, like the Genetic Driser, offer all of the above and are raised 20mm from the stem, offering a higher and more comfortable position.
8) Shock-absorbing handlebars - From £100
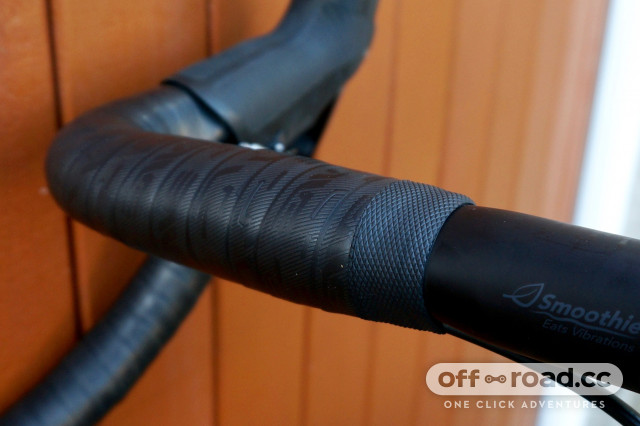
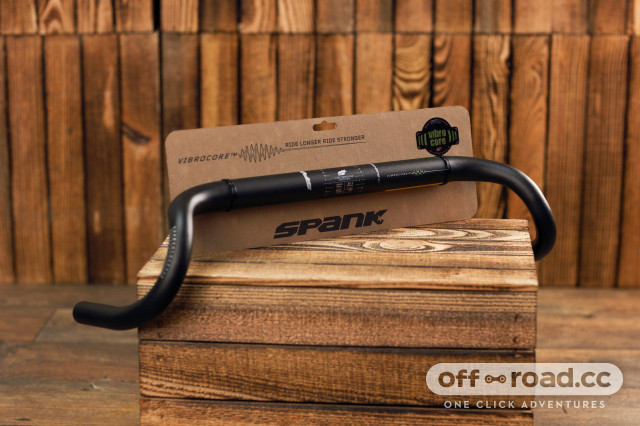
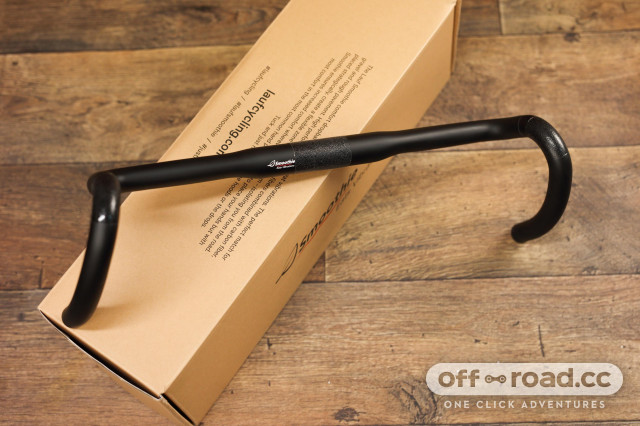
Handlebars from Lauf and Spank offer damping properties in their construction to dial out the buzz from the surface you are riding on. Lauf uses military-grade fibreglass mixed in with their carbon to provide shock absorbance whilst Spank uses patented Vibracore foam inside their bar to adsorb trail vibrations.
Matt could certainly feel the Spank Vibracore bars working in his test set and we currently have the Lauf Smoothie on test so please check back to see what we think of them
9) Shock-absorbing seatposts - From £120
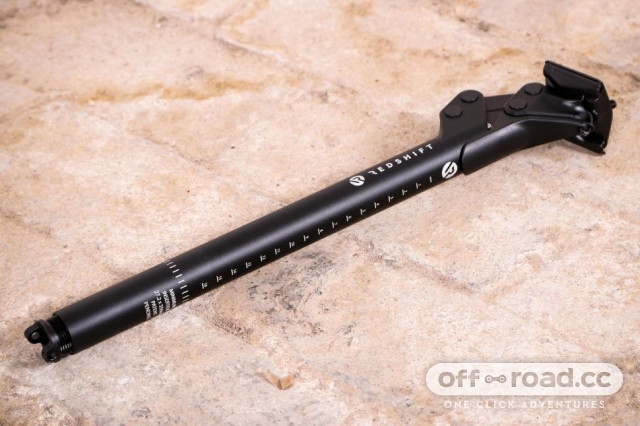
There are loads of different options on the market aimed at reducing the effect on your lower back of the rear wheel hitting ruts and roots. These range from cleverly designed carbon posts with flex built into their construction like Canyon VCLS, to inline posts like USE’s Ultimate Vybe, to elastomer parallelogram-style seat posts like Cane Creek’s ST G4 and eeSilk and Redshift's Shockstop.
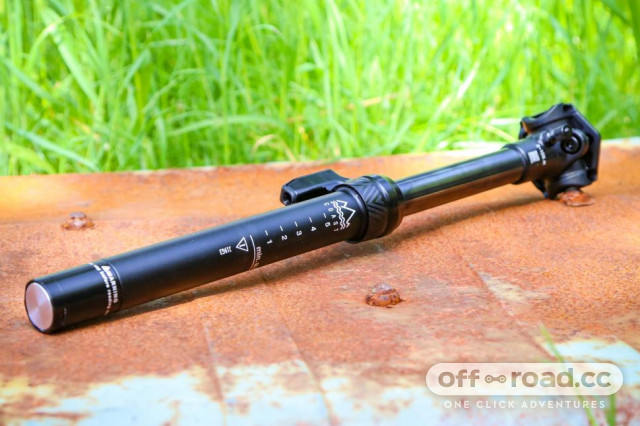
Then there are Redshift's Suspension ShockDrop, PNW Coast Suspension Dropper and Rock Shox Reverb XPLR that allow you to drop your saddle for tech sections and provide some amount of suspension at the same time. Check our round-up on road.cc here.
10) Suspension Forks - From £890
"Things start to get tricky with suspension forks because they have a longer axle-to-crown length than the rigid fork fitted to your gravel bike so you need to take this into account when considering this upgrade. A longer fork will slacken the head angle and make the handling feel less direct, however setting the sag correctly on any suspended fork is essential, and doing this will reduce the listed axle-to-crown length and any resultant effect on the geometry." You may not notice the difference or, on the other hand, it may have a big effect on the way your bike feels. It will certainly add a lot of weight with 4 of the 5 options here.
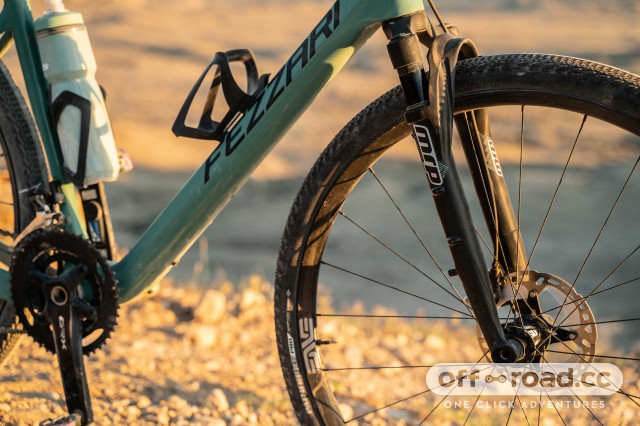
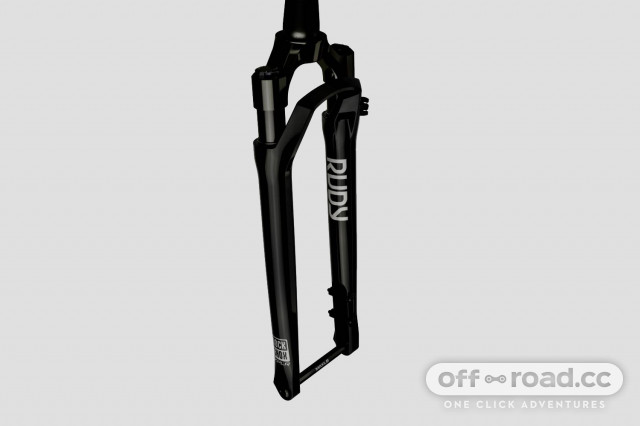
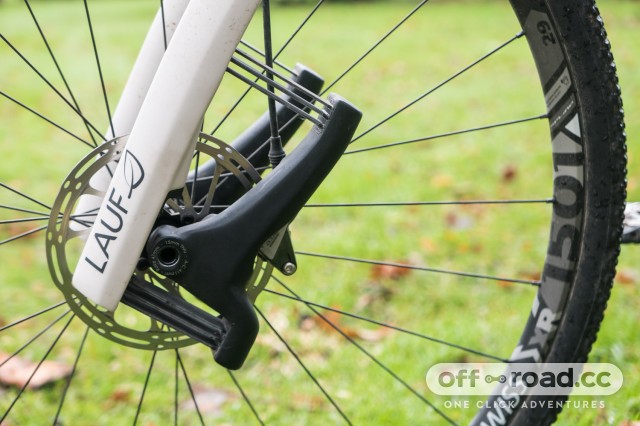
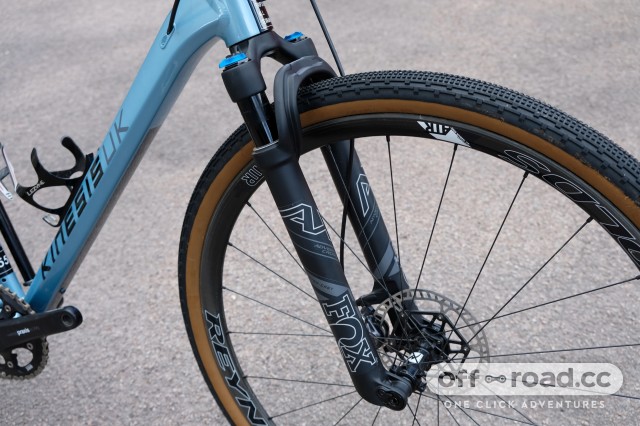
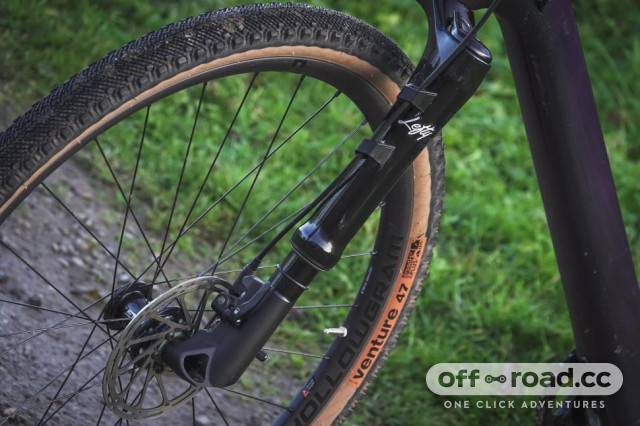
At the moment there is only a small selection of suspension forks available for gravel bikes. They are the Lauf Grit SL, Fox AX, MRP Baxter, Cannondale Lefty Oliver, and the Rock Shox Rudy XPLR. Except for the Lauf, the others are telescopic suspension forks looking like very short versions of their mountain bike brethren.
- Fox 32 AX fork (£764)
The Lauf is different. It relies solely on the flex from its glass-fibre plates to provide the damping. It’s not adjustable in any way and it’s not as laterally stiff as the other four forks here but it is significantly the lightest at 850g – approximately 350g more than most carbon gravel forks – so it’s likely you won’t notice the weight too much... unlike the looks which are very dividing.
The other three forks are 1300–1600g, offer 30-60mm of travel, and measure 427-456mm from axle to crown. We’ve not tested the new Baxter or the Rudy XPLR but the AX and the original Baxter worked well despite limitations in fitting to your bike. The Lefty Oliver also requires that you use their specific 'Lefty hub' which may rule it out for you.
What’s left?
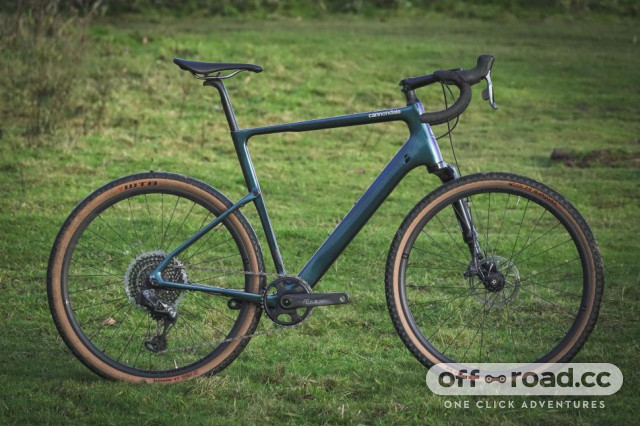
You could always change your frame for one with suspension built-in or with a shock-absorbing material incorporated in the carbon. Cannondale's Carbon Topstone is a great example of a bike that does it all, but the prices are not cheap and it’s not really an upgrade - more a new bike.
Hopefully, there is something there for all budgets and it has given you plenty of ideas for what to try in the search for improved comfort on your gravel bike. If you have missed any please shout in the comments below.
Explore UK alternative gravel routes with komoot:
