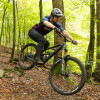
How to set up your mountain bike for winter
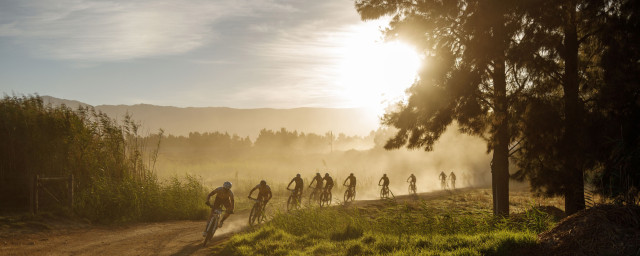
Get set for winter and keep those wheels rolling

More Features

Top advise to make the soggy season more bearable.

Winter riding poses its own set of maintenance challenges - here's how to battle them.

Everything you need to know about mountain bike trails and where to find them.

Geometry is synergy but few angles can be as misleading as effective and actual seat tube angles. Let's fix that.
While we can universally agree the warm sun and dry trails of summer provide the best riding conditions, that doesn't mean the riding season should end as soon as the mercury drops. In fact, riding through the cold temperatures and wet trails of winter can make for some of the most liberating rides of the year, all the while quietly working on key bike skills. Wintery conditions do pose their own challenges, however, and many can be solved through a better bike setup.
- 5 tips to make winter riding easier
- Six tips to upgrade your winter cycling experience
- Winter mountain biking 2025 - your guide to riding in the cold
Get mudguards
If you're only going to make one change to your bike ahead of winter, install mudguards. As trails get wetter and softer, mud and water cling to your tyre and fling off with the rotation of the wheels. More often than not, whatever is launched airborne will land in your face or, even worse, your eyes. As such, the humble mudguard is an important safety feature that'll help you see the trail ahead while keeping your vision in good nick.
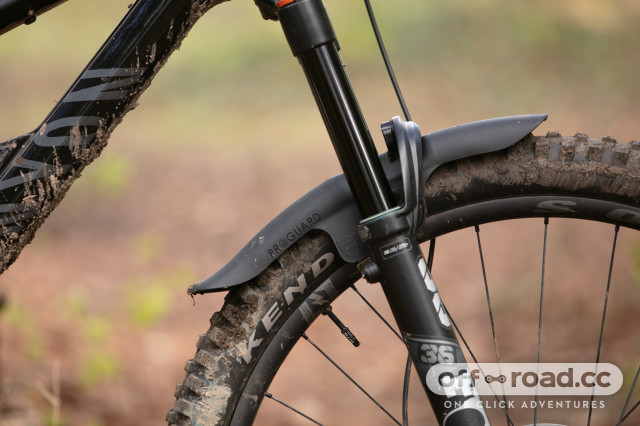
2024 rrp proguard v2 hero.jpg, by Liam Mercer
Mudguards come in all shapes and sizes to offer a different level of protection. Some are very small and light - arguably look better - and are designed to keep mud and spray out of a rider’s face. Others are larger, reaching further around the wheel to keep the rider as dry and clean as possible. These are especially handy if you like to chest mount an action camera to film your rides, as you can ensure the lens stays free of splashes.
Whether you want a more discreet mudguard or value all-out cleanliness is entirely up to your preferences and the trail conditions you usually encounter.
Nowadays, mudguards can be fitted to your fork using zip ties and Velcro or brands such as Mudhugger and RRP offer guards that bolt into your fork. The latter may sacrifice all-out stability, but they’re great for a clean look, and they don’t rub your fork like zip ties can do.
Although not nearly as popular as front mudguards, rear mudguards also exist. Rear mudguards come in two sizes with larger options designed to keep the rider's back clean whereas smaller mudguards are shaped to fit within a bike's seat stays to protect pivot bearings. Rear mudguards aren't common because many riders don't mind getting a muddy back, and they can look rather unsightly while limiting space over the rear wheel for weight distribution.
Choose more aggressively treaded tyres and a softer compound
Your tyres are two of the most important components of your bike and their tread pattern massively influences how your bike interacts with the trail.
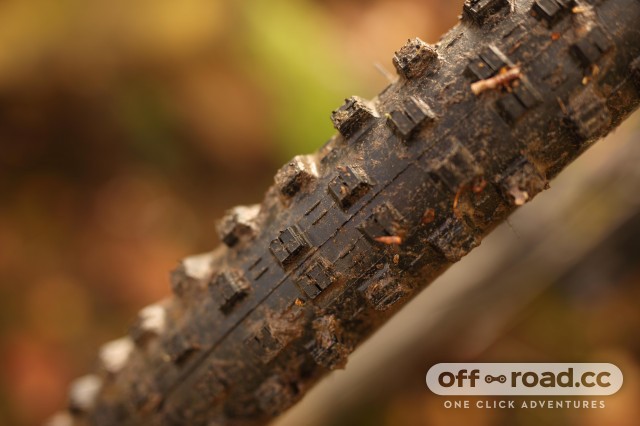
It goes without saying that when conditions get wet, the trails get softer and tyres with low-profile tread patterns will struggle. While fantastic in the dry, they don’t have the tread depth required to dig deep into wet mud and offer grip. This will make your bike feel like it’s skating over mud rather than gripping the trail.
When transitioning into the wetter months, consider choosing an intermediate tyre with a more aggressive tread pattern or taller and wider-spaced knobs. Taller knobs dig through the squishy wet dirt and find the firmer ground underneath, where the grip is. A widely spaced tread compound will allow the tyre to fling mud off the carcass when riding, stopping it from clogging and reducing the grip available. It’s also a great idea to pick a tyre with a squarer profile on the rim, as more pronounced shoulder knobs will pay back in loads of grip when tackling wet off-camber.
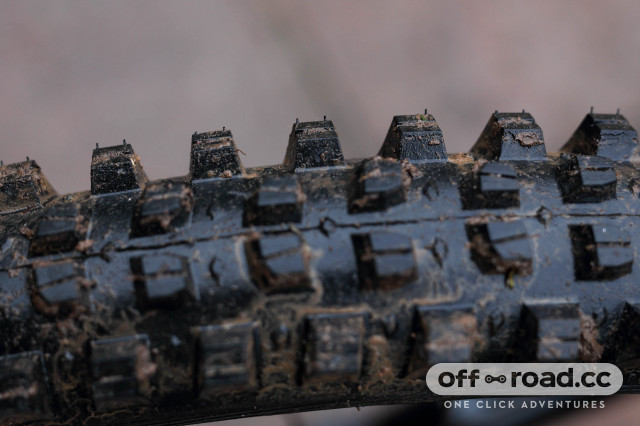
Mud tyres also tend to have squarer profiles and more aggressive shoulder knobs. And the idea behind that is to help keep traction during off-camber sections and to help the shoulder knobs engage into soft surfaces sooner when cornering.
It’s wise to look towards softer rubber compounds too as the softer the rubber, the more chemical grip you’ll get. While all of this will increase the overall grip your bike can offer, it does come with a sacrifice of more rolling resistance, so your bike will be a little harder to pedal. Also, don’t go too crazy with the tread pattern as full-on mud tyres with super tall knobs can feel nervous over harder sections of the trail. To get a great idea of which tyres suit all riding styles best, check out our tyre reviews.
Lower tyre pressures
On the subject of tyres, in the wetter months, you can get away with dropping the psi of your tyres a notch or two. When grip is scarce, you’re not going to be riding as quickly and of course, the trail isn’t as hard as it is in the summer. With this in mind, you don’t have to worry quite as much about pinch flats.
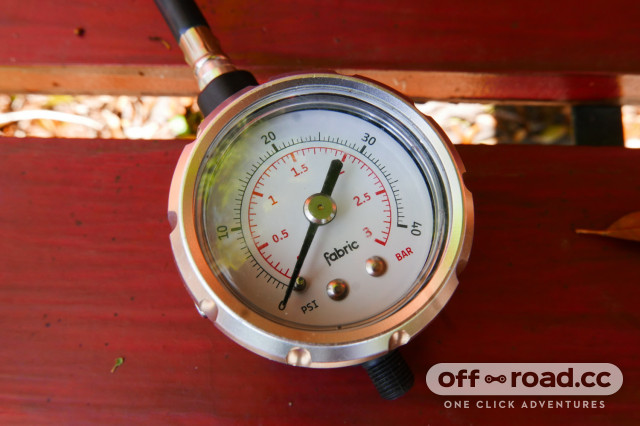
In the winter, you can take full advantage of this and soften your tyres a little bit, which will allow your tyre set-up to conform to the trail even more and eke out even more grip. But as always, don’t go too soft or you’ll end up fixing flats on the trailside.
Install light mounts

No one likes getting your light mounts sorted on your handlebar and helmet before a ride, and leaving them in place semi-permanently will speed up your pre-ride prep. Not only will you be ready to ride faster but getting the placement of your lights dialled on your first night ride will mean that you’ll never have to do it again, or at least until British Summer Time comes around again.
Consider flat pedals
This isn’t a case of 'flat pedals win medals' but as mentioned before, wet trails offer far less grip which poses an excellent case for flat pedals. When grip is hard to come by, lifting a foot from the pedal, or dabbing mid-corner is imperative to keeping you upright. Being able to do this without having to clip out, and back in of a pedal is incredibly freeing and could be a make or break in tricky trail situations.
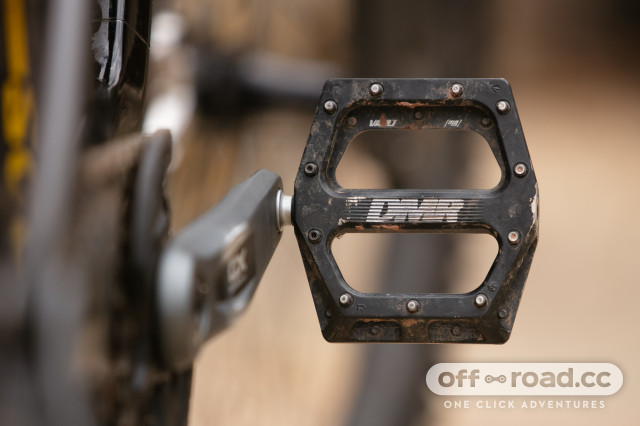
In the most horrific of mud and snow, even the best clipless pedals can also clog up which makes engaging with the pedal an absolute nightmare. So in the winter, choosing a pair of decent flat pedal shoes, and flat pedals can up your riding game to no end.
Swap your brake pads
When it’s dry, many choose to ride with organic brake pads to benefit from their stronger bite, and fast bed-in but when it’s wet, organic pads very quickly lose their power as they absorb moisture.
Even though organic (or resin) pads offer better braking in cooler conditions, it’s wise to move to sintered, or metallic pads as we move into winter as they’re much more resilient and won't wear nearly as quickly. They may require a bit of heat to work at their best, but even when cool, sintered pads do a better job of slowing you down than wet organic pads. It’s a relatively cheap change to make, too.
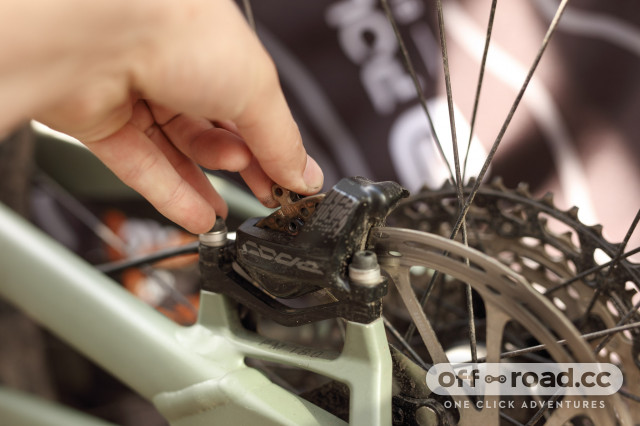
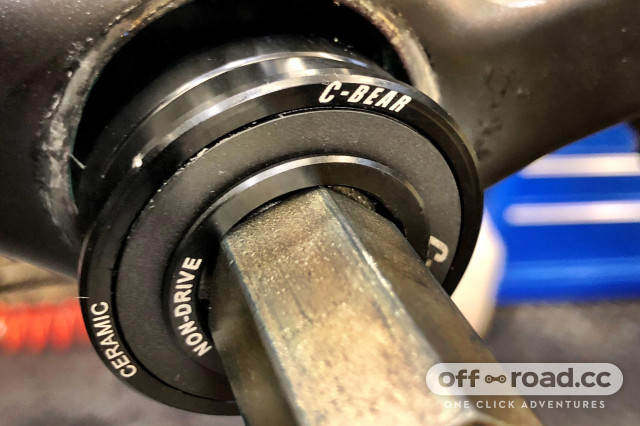
Check over your bearings
If you’re anything like the rest of us, you’ll have given your bike an absolute hammering throughout summer in which case, it’s great to take the shock out of your frame and check the smoothness of your pivot bearings. The same goes for your headset and wheels, too. If there’s any play in any of these bearings, get them replaced as it’ll only worsen as water ingresses – and that can become an expensive thing to fix come summer.
If all is well, check again in the dryer months.
Tweak your suspension
In the summer, you’ll be riding faster and hitting terrain harder and you’ll likely be running your rebound faster to cope with that. You might even have an extra bottomless token or volume spacer. Come winter, you might want to think about tweaking your suspension setup again.
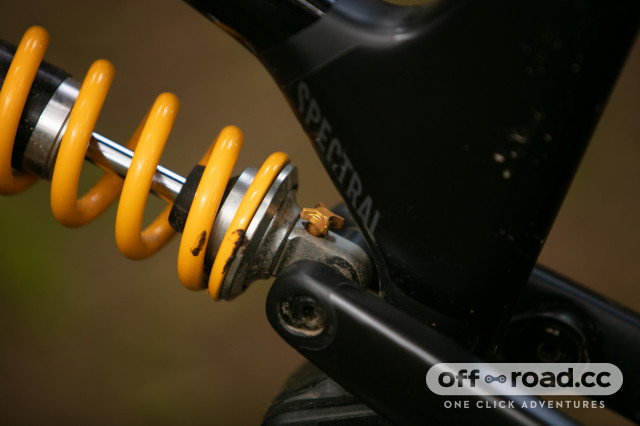
As we ride into the winter, typically, we slow down as the slick trails dial back the confidence a bit. If your suspension is set up for summer speeds, it won’t be working at its absolute best in the winter due to the slower speed.
With that in mind, consider slowing down the rebound a click or two – which will further improve grip by keeping your wheels planted.
Refresh your grips
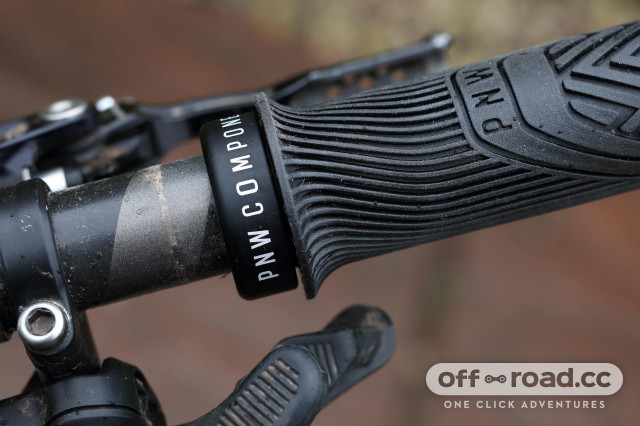
Like with your tyres, if your mountain bike grips are worn, they won’t be any good when they get wet. Going for a fresh set of grips will up your confidence by giving your hands more traction on the bars. Some grips even have special channels that move water away – all to boost grip and bar feel.
Consider ceramic frame coatings
The bit that nobody likes about winter riding is the mass of cleaning that comes post-ride. However, over the past couple of years, brands have been creating ceramic coatings that apply a film over a frame or any other component you rub it onto. The result is a hydrophobic surface that mud and water struggle to cling onto.

2024 muc off ceramic coating kit hero.jpg, by Liam Mercer
At the moment, there are two key options for Gtechniq and Muc-Off. Both of which promise to last a long time post-application and they make the whole cleaning process that bit easier as most filth will blast away from your bike simply by hosing it down.
Switch to wet chain lubricant
Chain lube keeps the links and rollers that make a chain moving freely. A properly lubed chain keeps gear changes slick and the whole drivetrain quiet – it's a must-have regardless of the conditions. Throughout the summer, you may have been using a dry lube, which is designed to be less sticky to stop the lubricant from attracting dirt and increasing wear.

2023 bike clean chain lube.jpg, by Liam Mercer
In wet conditions, dry lube can easily wash away, effectively leaving you with a completely unlubricated chain. This will increase wear, get noisy and just feel nasty to ride.
Wet lubes are thicker liquids that are designed to stay in place for longer by resisting being washed away by water and puddles. Because they're thicker, it'll require more effort to clean but it'll keep your bike running smoother for longer.
You might also like:
Author block