Gravel bike setup - everything you need to know
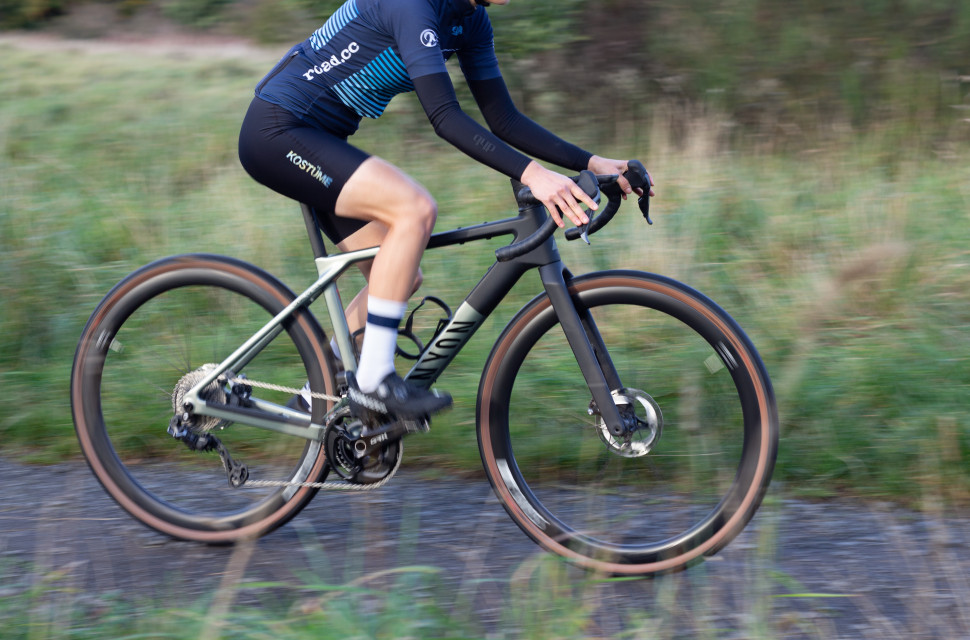
So you've just purchased one of the best gravel bikes and, while it might resemble your trusty road bike, there are differences between the two – both in terms of geometry and the terrain you will cover. As a brand-new discipline, gravel riding comes with a different set of demands. Here are a few considerations to ensure your bike is set up for a comfortable and safe ride.
- Gravel racing - what's next for cycling's fastest growing discipline?
- Best gravel wheelsets 2024 - fast and furious off-road wheels
- Best gravel bikes under £1,500 in 2024 - drop-bar machines that won't break the bank
Perfect the fit of your bike
Life with any new bike starts with the fit. If you've been lucky enough to have had a professional bike fit, you have a ready set of numbers you can now apply to your new gravel bike. Set your right saddle height, saddle-to-bar drop and saddle-to-bar reach from the data and then test the fit. It might be that your bike didn't come with the right components (for example, you might need shorter cranks and stem, or a narrower handlebar) which means that before going for a longer ride, you want to swap those parts to tweak the fit.
If you haven't had a bike fit, you can rely on online resources and feel in getting the fit right. If you already have a road bike, you can transfer your fit from that bike. That said, often gravel riders sit slightly more upright and use slightly wider handlebars for added stability off-road, although this depends on your riding style and goals.
Try to get the fit as close to perfect indoors before heading out and always make sure you've tightened everything properly, preferably using a torque wrench, before taking a test spin. Make sure to also adjust the reach of your brake levers – this is essential so you can reach them easily even when on the drops. The adjustment is usually done with an Allen key, and the process differs slightly between different shifter models and brands. To get it right, check the manufacturer's instructions which are often easily available online.
Make sure everything is set up and tightened properly
This applies as much to any cycling discipline as to gravel, but when riding off-road, your bike will rattle more than on the paved roads and if you haven't tightened your bike bolts properly, this might lead to serious problems.
Before your first gravel ride and regularly after, make sure to check the nuts and bolts of your bike. Thru-axles, bottle cage bolts, your stem and headset screws. These can come loose easily if you haven't torqued them to the manufacturer-stated tightness.
Choose your pedals
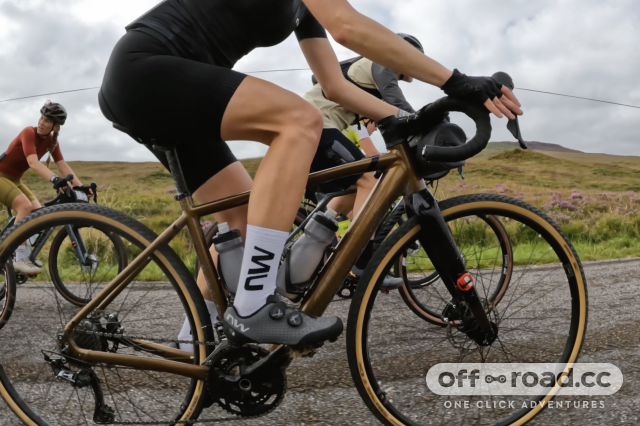
While many road riders use road-specific cleats for clipping into and out of the pedals, many gravel riders – especially first-timers – opt for a set of the best MTB flat pedals. More experienced riders will opt for two-bolt SPD cleats. While riding clipped-in offers some benefits, for new gravel riders a grippy flat pedal can offer an easier starting point.
Whether you choose clipless or flat pedals, it's essential that you feel your feet are going to stay securely on the pedals at all times. Forget about the plastic flat pedals that might've come with our new bike and invest in bigger platform flats that have dedicated pins for added grip. When the gravel gets a little more technical or tilts aggressively down, the large and grippy platform means you can adjust your foot position without losing grip
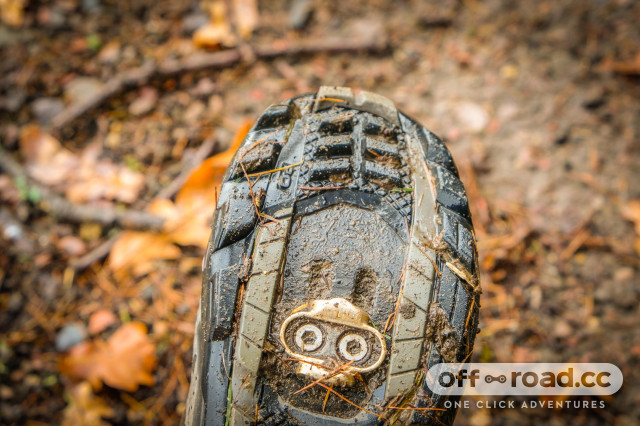
Although flat pedals offer a bigger platform, most gravel riders opt for clipless pedals: specifically the ones compatible with two-bolt (SPD) cleats. Clipping in and out of these pedals is a bit of a learning curve but once you've mastered the move to clip out, it becomes second nature. Using clipless pedals allows you a smoother and more secure pedal stroke, but the efficiency gains from clipless setup are debatable. This has more to do with your pedalling technique rather than the pedals themselves and riding clipless can even make you less efficient than riding flat pedals.
What pedals you choose for your gravel bike also depends on your riding preferences. If you're into gravel racing, clipless pedals are more efficient but if you like to do longer bikepacking trips you might prefer flats because you can use them with comfier, flat cycling shoes or your normal trainers.
Choose your handlebar and saddle
In addition to your pedals, you have two more contact points on the bike: a gravel-specific saddle and handlebar. Comfort is key to enjoying cycling, especially on bumpy gravel rides, and the touchpoints are where comfort can be added.
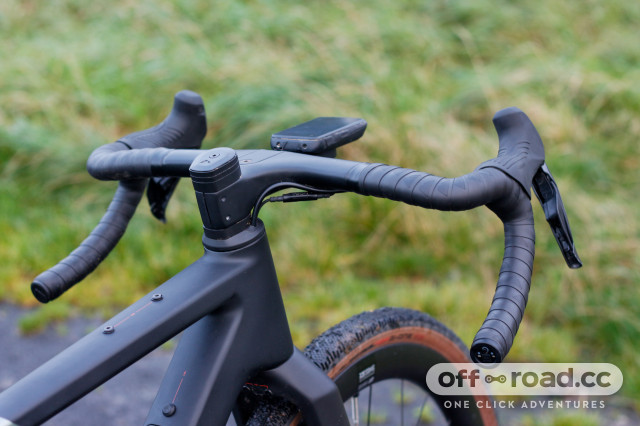
A well-fitting bike is a comfortable and fast bike and, often on gravel bikes, the handlebar is where you can start experimenting with what fits you best. Most gravel handlebars are drop-bar-like in application and are wider than road bike equivalents. While some opt for extra wide bars or even flat bars, to remain comfy on longer expeditions you don't want to go too much wider than your shoulder width.
Instead of making your handlebars very wide to add stability, consider gravel-specific handlebars which feature a flare, meaning that the drops are wider than the tops of the bar. This width can give you added stability on rowdy descents but offers you a neutral cruising position for the flats.
It's worth also considering the handlebar material and bar tape. Some gravel bikes come equipped with quality handlebar tape, but if not, upgrading to a cushier and grippier alternative can take your overall enjoyment of riding up a notch. If you can afford it, you can also invest in a carbon handlebar that should offer you a smoother ride feel due to the way the fibres dampen vibrations.
While what makes a handlebar comfortable can be quite universal, saddles are something that is a very personal choice and depend on more factors than just the cycling discipline.
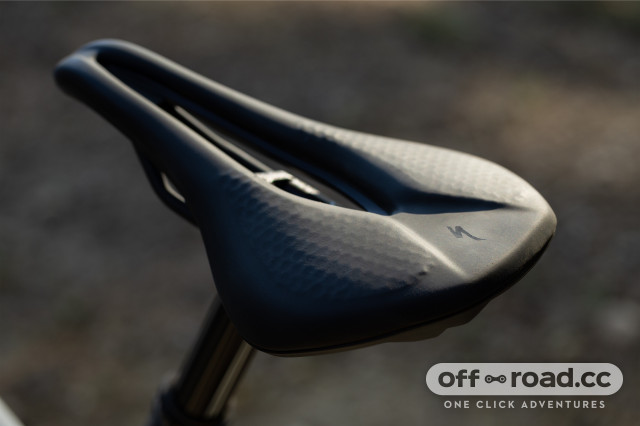
The best gravel bike saddles come in a whole variety of shapes, widths, cushioning levels and price points and it can be daunting to try to find the right one. Many new cyclists think that some level of discomfort from the saddle is acceptable but that is not the case. Before trying a fully new saddle, you can try to adjust your saddle height, fore-after (how far back or forward the saddle is) and tilt, but if those won't make the seat comfy, then it's time to try new options.
There are women-specific saddles out there, too, but brands are increasingly steering away from marking saddles as gender-specific. The gender-specific saddles might work better for the female anatomy but, as a general rule, anything with a pressure relief channel, also called the 'cut-out' is going to be better than a flat, solid saddle.
Upgrade the tyres and make them tubeless
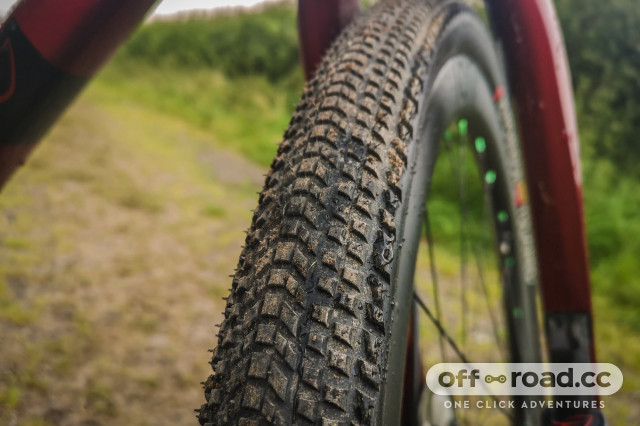
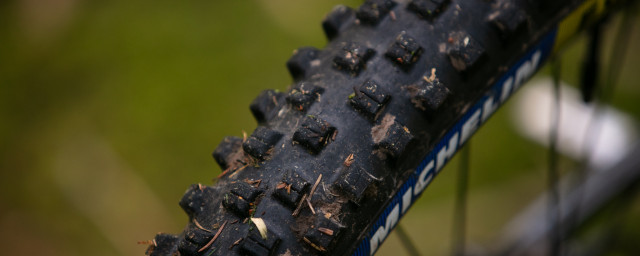
Gravel riding demands grippy and durable tyres that keep you upright, improve traction and stave off punctures. It's worth evaluating your bike's stock tyres and, if necessary, upgrading to a tread pattern that suits your riding conditions.
The best gravel tyres come with lots of different tread patterns and casings, and choosing the best one for you depends on the type of riding and conditions you regularly experience. If you ride to the gravel paths on paved roads, you might want to opt for a lower tread profile that rolls well on smoother surfaces, yet still offers some extra grip off-road, too. If you regularly ride chunky gravel in wet conditions, then you are better off with knobblier and wider tyres that grip the surface.
If you're new to gravel riding, rather than worrying about rolling resistance and chunkier tyres slowing you down, think about grip and puncture protection. This will make you more confident on the bike and not worry about any mechanicals.
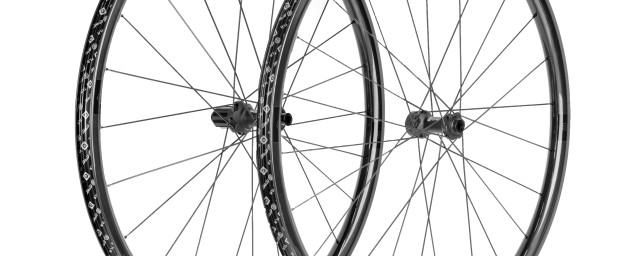
Converting your tyres to tubeless is something we'd recommend you do because it allows you to use lower pressures, which improves grip and comfort (you can see a theme here). Most modern gravel tyres are tubeless or tubeless ready, and to set them up tubeless you just need to pair them with a tubeless-compatible rim, a pair of tubeless valves, tubeless tape and some good tubeless sealant. By eliminating the inner tube, you also get rid of the risk of pinch flats, which often happen if you ride over roots or very sharp rocks.
Remember to add a tubeless repair kit to your toolkit once you've got a tubeless setup, though, and still carry inner tubes with you in case of a puncture that won't seal.
Accessorise your bike with bikepacking bags
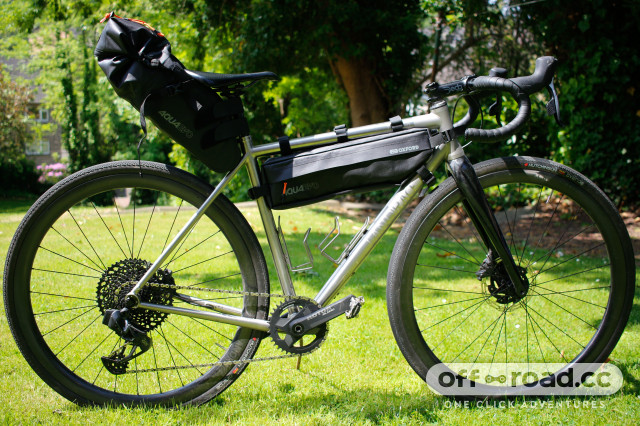
As you venture into longer gravel rides, bikepacking – which is a modern way of bike touring – can start to appeal to you. Long, multiday rides require you to carry some level of kit with you on the bike, and those can most easily be stored in dedicated bikepacking bags. These bags, which you can attach to your handlebars, frame, fork and seatpost can carry essentials like camping setup, clothing, snacks, and tools.
Bikepacking bags are specifically designed to remain stable on your gravel bike, and opting for bags instead of a more traditional pannier setup is often more nimble on off-road adventures.
Consider suspension options
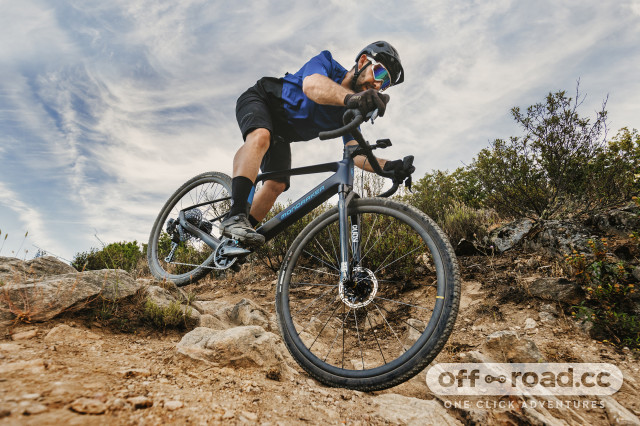
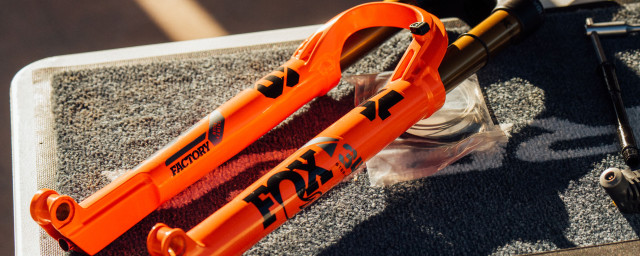
Lastly, once you have got the hang of gravel riding and start to expand your riding to more demanding spheres, you might also want to bolster the comfort even further. Depending on your riding preferences and the terrain you plan to tackle, suspension forks are becoming a popular theme among gravel riders. Front suspension forks or seatpost suspension (or dropper post) can add some additional bump dampening and control to your ride especially when facing rough and uneven surfaces on descents.
Gravel bike suspension is a controversial topic and, although it's growing in popularity, it doesn't necessarily come up cheap. The most budget-friendly way to add suspension to your setup is to invest in a suspension stem, such as the Redshift ShockStop PRO stem. However, brushing up your riding skills and running lower tyre pressures are an easier and more cost-effective way of improving comfort. If you have the opportunity, experiment with different setups to find the right balance between efficiency and cushioning.

1 comments
"Using clipless pedals allows you a smoother pedal stroke, as you can also lift the pedal with your foot, thus preventing your thighs from doing all the work."
I think you may be peddling a myth there!