How to tweak your mountain bike's geometry - Cockpit
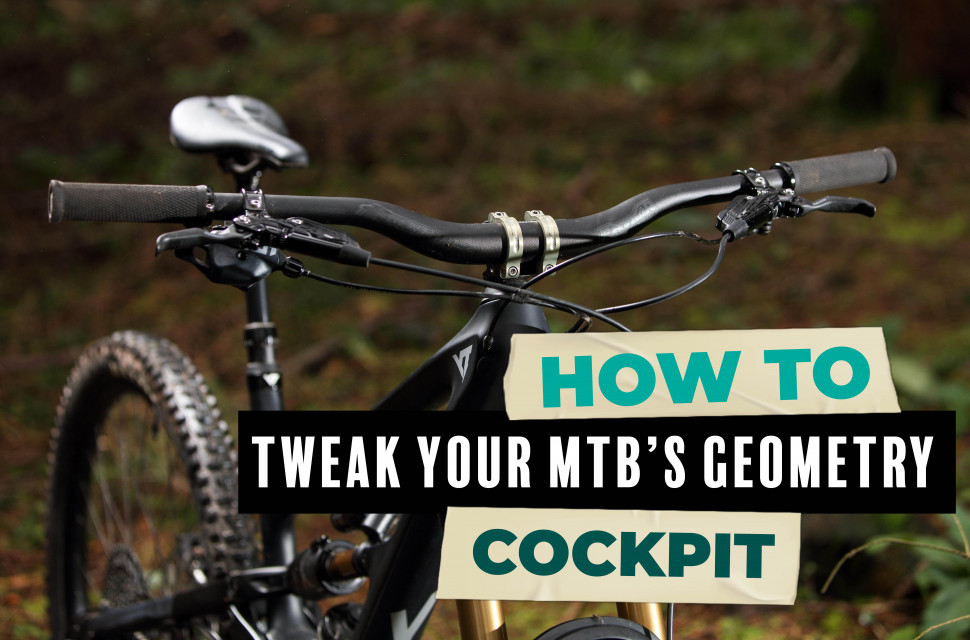
While not really a form of geometry adjustment, the importance of a correct cockpit setup for your style of riding is often overlooked. Before messing with your bike's geometry, your cockpit is the best place to start because it's mostly free and overall comfort can transform your riding.
- 10 worst bits of mountain bike riding advice I’ve been given by randoms
- Opinion: A lightweight e-bike is in your future so you might as well get used to the idea now
Ways you can adjust your cockpit
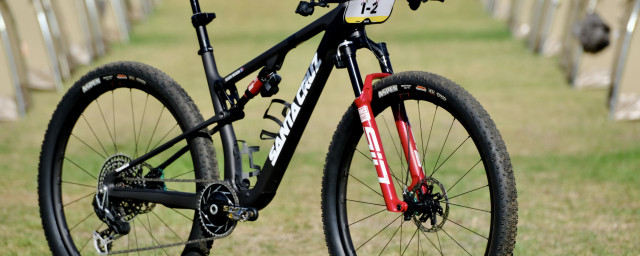
Cockpit setup is all about weight distribution and feeling comfortable on the bike. Weight distribution is hugely important to how a bike handles in a range of situations, compare a cross-country bike to a downhill bike for example. On the former, you'll see a longer stem, narrower bars, and even though dropper posts are finding their way underneath lycra-clad racers, many stick to tall and fixed seat posts.
This kind of setup is great for cross-country riders as it shifts weight forwards, important for the sick-inducing climbs they race up. However, it affects a bike's capability when descending, which is why we're seeing dropper posts creep onto modern XC bikes.
On a fully-fledged downhill rig, you'll see shorter stems, wider handlebars, lower saddles, and taller cockpits (when mentioning taller cockpits, I'm referring to a bike's stack, the measurement taken from the height distance between the bottom bracket and top of the headset). This is with the aim of biasing a rider's weight rearwards to counteract consistently steep, downhill tracks. Like on an XC bike, there is a downside. The more rearward weight bias makes it much trickier to keep the front wheel down when climbing and steering won't be as sharp... Not that anyone should ever consider climbing aboard a DH bike.
We've also got tips on how to adjust your geometry through your bike's frame and suspension.
Bar width
Handlebars come in a mind-bending array of widths and the width of your bar has a considerable effect on a bike’s handling so it’s a great place to start when tinkering with your cockpit. To find a good ballpark width for yourself, get in the push-up position and while using a tape measure, take the measurement from the outer of your palm to the other. This will give you an idea of what width should work nicely for you. Of course, there is a bit of leeway; it’s all about feeling comfortable here.
If you're looking for a bit more stability and cornering leverage out of your bike, you may want to opt for a wider handlebar. It'll widen your stance over the front of the bike, lower your centre of gravity, and edge weight forwards enhancing front-wheel traction resulting in an easier time in the corners. It will, however, heighten your chances of knocking trailside trees and some say that a wider bar isn't as comfortable when climbing.
A narrower bar on a modern, long and slack bike can make steering a little more precise as it takes less movement to turn the front wheel. Stability isn't hindered too much either, as bikes have become reasonably long, offering an already stable ride. In fact, many enduro and DH pros are choosing narrower bars. Ritchie Rude, for example, is known for running a 750mm bar.
Do note, that over anything, bar width is completely personal so there's no wrong answer.
Bar shape and roll
As with widths, handlebars come in a huge range of shapes and this is where things get much more personal. Things to consider when shopping for a new bar is its backsweep, rise, upsweep, clamp diameter, and built material all of which considerably affect how a bar feels.
Backsweep - This is the degree to which the ends of the bar bend back from its centre. This can be adjusted to a degree by rolling the bar fore and aft in the stem to find the most comfortable spot but that'll only do so much. Handlebars are available with backsweeps from 5° up to 12°... That's ignoring JONES handlebars. This is where an opportunity to try before you buy is golden.
Upsweep - This is similar to the backsweep but as you might have guessed. The upsweep is the degree to which the ends of the bars bend up from its centre. Again, this has an effect on weight distribution but a difference can be felt pretty noticeable when cornering.
Rise - This plays a part in dictating where the rider’s weight is orientated over the bike. For example, cross-country bikes often come with flat bars in order to shift weight towards the front of the bike for the climbs. Then high rise bars (~30mm) shift weight rearwards, ideal for gravity-fed riding. Though that’s not to say a flat bar won’t be useful on a trail bike, especially if you're looking to shift more weight forwards without lengthening the stem.
Brake lever angle
The angle of your brake lever has a considerable effect on your comfort aboard the bike and if you really think about it, it can affect your bike's handling. Generally, you want to be able to reach your levers regardless of your position over the bike. So if they're rolled too far on the handlebar, you won't be able to reach them when you're hitting the steeps and moving your weight over the back of the bike.
An easy place to start when setting up your levers is to sit on the bike and point your fingers out when gripping the bar. Then, after loosening the bolts, butt your levers against your fingertips and tighten. Just like bar width, this isn't the be-all-end-all, get experimenting.
Rolling your levers so they're too flat on the bar can lead to strain on your wrists but there are some trains of thought that suggest that flatter levers may actually be beneficial. French rider, Yoann Barelli is known for riding with his levers incredibly flat. He claims that this helps him keep his head up and look further down the trail.
Stem length and height
How you arrange your stem can have a very similar effect to a handlebar's rise but they can also alter a bike’s behaviour when steering. Generally, a longer stem will force weight forwards and slow down steering input. A shorter stem can pull weight backwards but it’ll make steering inputs more responsive. Stems can also offer further rise or drop to your cockpit, so that’s something else to consider.
Then, a stem's height on the fork steerer more subtly shifts weight fore and aft on the bike. If you find yourself losing front end grip every now and then, lowering the height of your stem can help boost grip by putting a bit more weight through the front wheel. Raise the stem and you'll have an easier time getting your weight rearward and lifting the front of the bike when needed. Like a lot of things with cycling, it's a balancing act.
Saddle position
As for your saddle position, it can effectively shift your seat tube angle but more importantly, move your position and centre of gravity over the pedals when seated. Edging your saddle forward on the rails will put your weight further over the pedals and more centrally over the bike. That will make better use of your power and make it easier to weigh the front of the bike, ideal if you find yourself often combatting a lifting front end.
Another upside of a forward saddle position is that it’s then out of the way when getting your arse over the back end of the bike as you hit steep sections. It can also relieve lower back pain when riding bikes with a longer reach. Also, if your bike has a particularly slack seat tube, making you feel as if you're pedalling in front of yourself, pushing the saddle forward can counteract this.
Pushing it back on the rails will put more of your weight over the rear wheel, boosting rear wheel grip while climbing. It'll stretch your posture on the bike too, offering a roomier cockpit.


