How to ride berms - everything you need to know

Riding berms is a fundamental mountain biking skill and one that takes years to perfect. But once you nail it, few things are more rewarding in mountain biking than railing a berm without bleeding off all your momentum. Experienced riders and pros make it look too easy: they simply flick through them with deft balance and perfect body positioning. But bermed cornering technique is an art, requiring a sequence of actions, interventions and weight shifts.
- How to tweak your mountain bike's geometry - Cockpit
- How to clean disc brakes on a bicycle
- Mountain bike size guide - how to get the perfect fit
For most newbie riders, the conventional switchback corner (a turn that changes the rider's direction by 180 degrees while traversing either up or downhill) can be daunting. Brakes are the main culprit in preventing riders from cornering with fluidity as too much braking can upset the bike's natural ability to lean, while transferring even more load onto your tyres and reducing grip. For the unconfident, It is easy to grab way too much brake lever when rolling through the turn-point for almost any corner, which can either rob momentum or worse, end in a tumble.
Deceleration and turning are opposite forces in the physics of mountain biking. To properly corner, a mountain bike must lean. Braking forces make a mountain bike pull upright in corners as these forces upset the bike's natural gyroscopic effect. It’s not difficult to understand how too much of the latter prevents any execution of the former.
Berms take the mid-corner braking issue out of cornering
So what to do if you want to develop proper mountain bike cornering technique but are bedevilled by anxiety each time you near a switchback, and grab too much brake lever?
A berm isn't a kind of a corner, more of an addition to a corner and although they come in many sizes, gradients and lengths, all berms are banked to a degree. This is what distinguishes them from conventional ‘flat’ or off-camber corners. Berms are built to allow riders to corner without losing speed.
To understand the physics of berms, remember that turning the mountain bike is about a lean angle and it’s not about leaning your body but leaning the bike. In a flat corner, the rider must make all handlebar, pedal and brake interventions to initiate that leaning. Berms do all of this for you because they are banked. All you need to do is trust them but that in itself can be an issue because not all berms are equal
Berms do the leaning for you
The sequence of cornering actions for a flat corner is to brake early, look ahead at the exit point, pressure the handlebar and lean the bike. Of all these riding skills, leaning the bike is often a resistance point for newbies.
The natural reaction is to resist excessive leaning, which feels like you are voluntarily leaning into a crash with the ground. But lean angles convert rolling momentum to directional change – and if you don’t lean, you’ll never learn to turn a mountain bike with effect.
Berms are easier to sight and scale visually than flat corners simply because they're larger and there's more to see. Once you have acquired the berm visually and have initiated the turn, focus on a point at its exit. As you ride through the corner, shift your vision further down the trail. In mountain biking, you ride where you look and if you only focus on one point of a berm, your body will posture for that instead of the entire corner. Riders with a low centre of gravity will always have more control in corners. Ensure your bike’s dropper seat post is down, and hunker yourself low in the frame, while adopting the attack position.
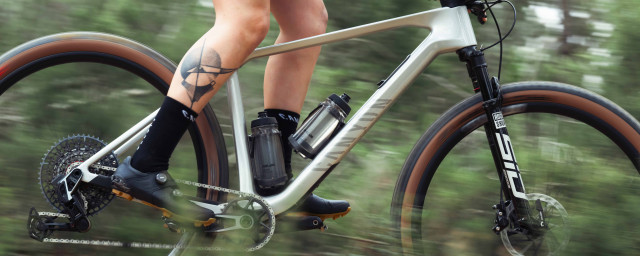
There are two trains of thought when it comes to pedal position in berms. The first should be followed if the berm is a subtly banked flat corner approached at average speed. You should attack it as you would a flat corner with a dropped pedal position because this enhances balance and unlocks additional mechanical grip. In order to do this, you will need to shift weight onto your ‘outside’ pedal while leaning the bike underneath you by lifting the corresponding elbow while gripping the bar.
This pressures your mass directly downward onto the cornering edge of your tyres. If you are riding into a berm that turns left, shift weight onto the right pedal, which should be in the lowest crank position. The more weight you transfer onto that ‘outside’ pedal, the more secure you’ll feel, with those tyre tread edge blocks digging into the berm.
It is a balancing act, however, as too much weight or too much lean on these knobs, in the wrong conditions especially, can lead the bike to slide from underneath.
The second theory is for berms that are long and sweeping with steeper banking and/or have a faster entry, these can be ridden with level pedals as, due to the banking of a berm, the ground remains somewhat perpendicular to your tyres. This allows you to take advantage of the full contact patch of your bike's tyres, while riding in a stronger, more stable and less fatigue-inducing position.
Riding berms in this fashion also means that you can pump the banking as you would a roller or a pump track and benefit from a boost in speed.
The technique you choose comes down to experience and the individual berm you are riding, so have a play with both and get a feel of which feels best where, and in what situation.
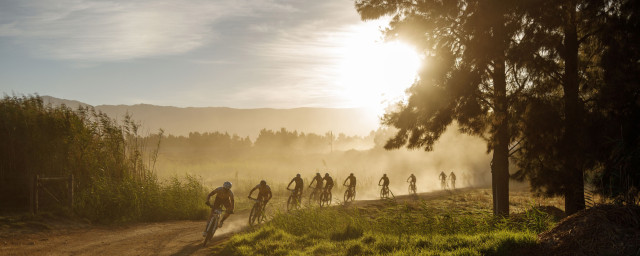
Railing a berm is exhilarating. Pro riders can ride through berms at such high speeds, that you can hear the tread blocks resonate as they strain under the combination of rolling speed and lean angle.
Beware the dry and dusty berm
Riding berms isn't always as simple as it may seem as you'll have to consider your line choice, particularly in dry and dusty conditions. If you enter a berm too high, you risk running out of berm and riding over the top, which can be a nasty crash event at any speed.
Some berms take a more considered approach as, In summer, berms can develop a cracked surface with loose pebbles that sit at the bottom, or unbanked portions, which are often unsighted. When leaning the bike at speed, your risk of unpredictable side-angle wheel slippage is higher in dry conditions on berms that have not been watered and compacted for a while.
In the case of a dry berm, or nearly any for that matter, a smooth grippy line appears as more and more people ride it. Keep to this line for the best results and steer away from the loose menagerie of dust and stones. That is unless you fancy getting extra rowdy.
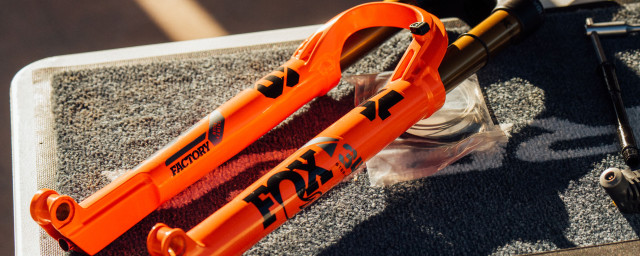
Another issue with berms is braking bumps. Riders who drag their brakes too aggressively on the run-in to a berm create these. Braking bumps can ruin your momentum and stability when setting up for the berms, especially on a mountain bike with short travel suspension. To combat their effect, consider your suspension set-up as speeding up your rebound damping will increase your control and minimise painful arm pump.
Leaning tyres with small tread blocks
For riders of intermediate skill, the final risk with berms is tyre choice. Berms are about that lean angle and trusting your tyre edge blocks to do what they are designed to do. With the higher speeds and lean angles possible in berms, compared to flat corners, riders can place greater strain on their tyres.
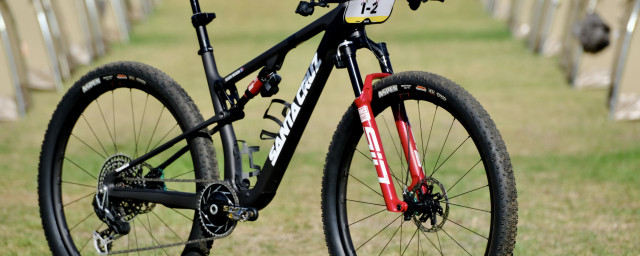
If you ride cross-country specification tyres with minor edge blocks, the margin between grip and the loss thereof is narrow. Tyre engineers work exhaustively to create edge blocks that remain stable and predictable during high-speed cornering – which is exactly what berms enable.
Most contemporary trail and enduro mountain bike tyres have tread edge blocks that provide excellent berm cornering support. There are even specialist semi-slick mountain bike tyres (like the Maxxis Minion SS for example), which feature a fast-rolling centre tread with tiny blocks, and much larger edge blocks, to support cornering lean angles.
Berms are a great way to become confident with higher cornering speeds and develop the feel for leaning a bike without the anxiety of tipping over. Get out, find a set of berms and get sessioning, as practice makes perfect.


