Volume spacers - what are they and how they work

Volume spacers, bottomless tokens or volume reducers can be considered the hidden adjustment in your suspension fork or rear shock. As such, they can often be forgotten and overlooked but fiddling with these small chunks of plastic can make a monumental difference to how your suspension works and play a significant role in how you set up your mountain bike suspension.
- 9 tips to keep your suspension running sweeter for longer
- Busting those suspension myths with Fox
- Is big travel necessary for UK trails?
What are volume spacers?
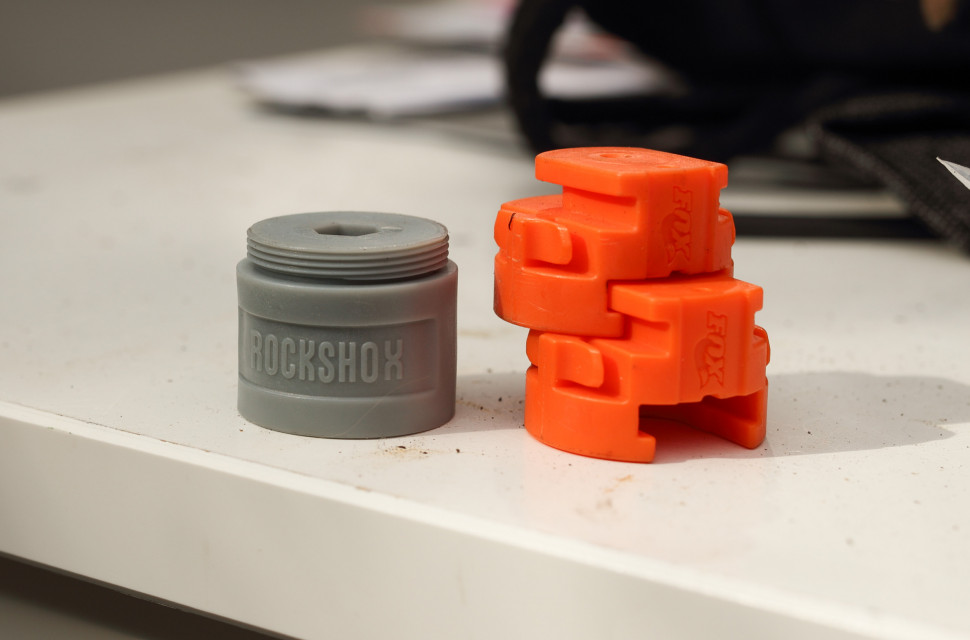
This is the easy part of explaining the whole volume spacer story but volume spacers are small lumps of plastic that live inside of your fork’s air spring or your rear shock’s air can. The purpose of these is to fill up some of the volume inside the air spring or air can, which boosts the component’s progression.
They go by a few names which can confuse things a bit but RockShox' Bottomless Tokens and volume spacers are the same things - they're just specific to that brand's suspension. We'll refer to Fox and RockShox a lot in this article but most brands have some form of volume spacer for their products which all work in the same way.
How do volume spacers work?
Before playing with volume spacers, it helps to understand how air springs work, and thankfully it's rather simple. We’ll use the fork for this example to keep this clear but this is also how it works in a shock.
The air spring is an uncomplicated bit of tech where a lubricated piston pushes against pressurised air inside of the air chamber (the same air you’ve pumped in to set up your sag). As the fork moves through its travel, a piston pushes against the air, which firms up the deeper it gets into the travel, as is the nature of air. Usually, this progression occurs most noticeably nearer the end of the stroke, if there aren't any volume spacers installed.
The idea behind volume spacers is to introduce air's natural progressive compression sooner into the fork’s stroke, making the suspension more 'progressive' or you could remove spacers to make your suspension more 'linear' (less progressive).
As volume spacers reduce the volume of an air chamber, they’re not compatible with coil suspension.
How do I know if I need to add volume spacers?
While this adjustment is a lot to do with personal preference, there's a range of situations in which volume spacers are very useful. Firstly, if you’ve got your sag set up properly but you’re still regularly bottoming out your suspension, adding volume spacers can fix this without having to add more air pressure.
Similarly, you may be looking for better small-bump sensitivity but you don’t want to be bottoming out all of the time. Volume spacers can solve this, too.
You could find that you lack support in the corners, or your bike pushes through a lot of its suspension during compressions. Adding volume spacers will fix this problem by boosting support in the mid-stroke.
If you ride a lot of steep trails, you might want a more supportive front end but you don’t want to sacrifice small bump sensitivity and therefore, front wheel grip. Adding volume spacers will help the front end remain propped up when you need it to be while still being free to conform to the terrain.
Generally, adding volume spacers makes for a livelier ride as you're not having to push through as much suspension to reach its support.
How to install volume spacers
Installing volume spacers requires some disassembly of your suspension and while that may sound intimidating, it’s actually a very easy process. With older RockShox and all Fox forks, you’ll need to unscrew the cap on the left side of your fork with the correct-sized chamferless socket. This can be done with an adjustable spanner but doing so will up the chances of rounding the cap and damaging your fork. Newer RockShox forks have a cap that’s unscrewed using a cassette tool, which makes things extra simple.
Before going anywhere near this cap, make sure to release all pressure from your fork.
Once the cap has been removed, you either clip on the Fox volume spacers designed for your fork (whether that’s a 32, 34, 36, etc) or screw on your RockShox Bottomless Token (again, it has to be the right kind for your RockShox fork).
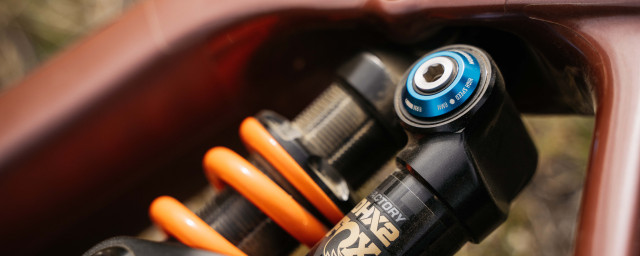
With shocks, it’s a similar process but it can be done without tools (though a strap wrench will help remove stubborn air sleeves). After releasing all air pressure from your shock, unscrew the air can and pull it down. Then you just clip your spacer around the shaft at the centre of the shock and you can seal the air can back up. If you’re using a Fox X2 shock, you’ll need to clip the band style spacer around the shock (under the air sleeve).
How many volume spacers do I need?
This is another one of those unanswerable questions. It’s completely down to experimentation. As with your usual suspension set-up, head to a trail you know like the back of your hand and smash out a few runs. Then, add or take away a volume spacer or two until you find a happy balance where the bike feels great, but you’re not regularly bottoming out, or feeling too progressive.
When adding or taking away volume spacers, be sure to do so in a clean environment as introducing dirt into your air spring could damage it.


