How to maintain disc brakes - everything you need to know
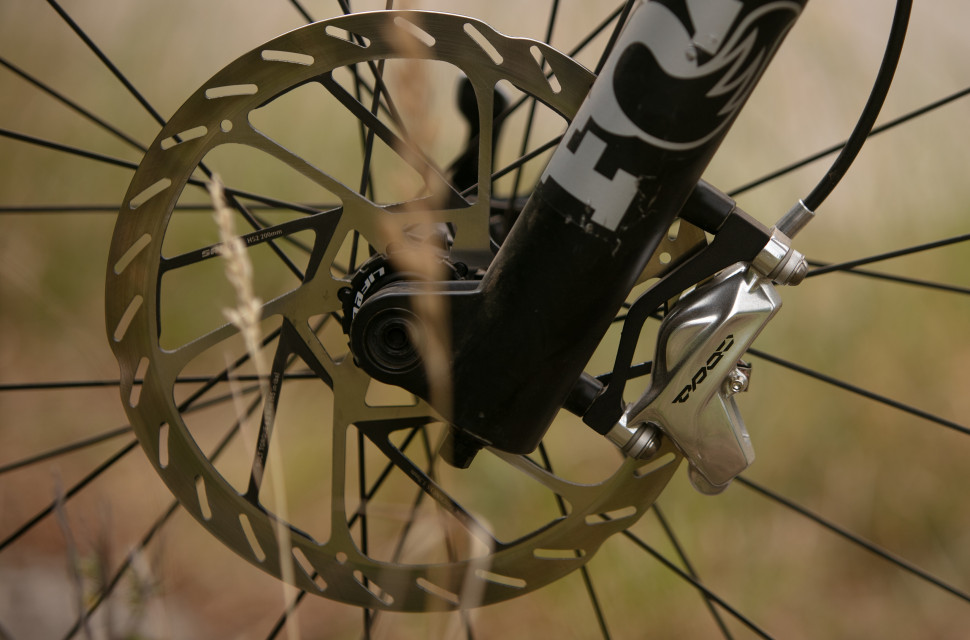
When it comes to hydraulic brakes performing at their absolute best, the first thing home mechanics will look to do is to bleed the system, and that’ll solve the problem 99 per cent of the time. However, there’s one key performance element that’s often overlooked: keeping your hydraulic brake caliper pistons clean and lubricated.
- How to bleed SRAM, Hayes and Magura brakes
- How to bleed Shimano, Hope, TRP and Tektro hydraulic brakes
- ABS MTB Brakes - everything you need to know
Hydraulic brakes require a surprising level of care and maintenance for them to perform at their very best. As hydraulic brakes run on fluid and oil that can absorb contaminants and perish over time, a simple bleed will regain immediate and powerful braking.
A bleed can solve most hydraulic braking woes but sometimes, the lever pull can feel a little spongy, even after the most thorough bleed. That’s down to two things – dirt build-up and dry pistons.
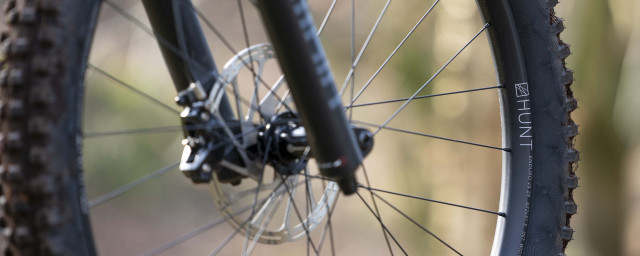
To explain why dirt build-up and dry pistons are bad for your brake’s performance, it’s important to revise how a hydraulic brake caliper works. All hydraulic brake calipers employ pistons. When pushed by compression-resistant DOT fluid or mineral oil, the pistons will push on the brake pads, which clamp against the brake rotor, creating loads of friction to slow you down. This is a sealed system but, over time, those seals can dry out and the pistons can get dirty due to dust and dirt accumulation. This can result in a build-up of friction between the piston and seal, making your brakes feel unresponsive – even after an effective bleed.
It's not just about spongey levers, however, as sticky pistons lead to reduced braking power and uneven pad wear.
This is where cleaning and lubricating the hydraulic brake caliper seals and pistons is an essential bit of maintenance. Doing so will rid any surfaces of dirt and add a hint of lubrication, allowing them to work smoothly. This will refresh old and even new brakes, making them feel lively, responsive and sharp. It’s an easy job to do, too, requiring few tools and only a bit of patience.
However, if this doesn’t work it might be time to service your caliper and possibly your brake lever.
What you’ll need
The kit list for this job is a short one as you’ll need a cotton bud, a toothpick or a small cable tie or similar, a tyre lever and a rag. You’ll also need the correct type of brake fluid or oil and brake cleaner or isopropyl alcohol. An Allen key or similar object that’s small enough to fit into the caliper is key, too.
It’s useful to spray the brake cleaner or isopropyl into a small container like a spray can’s cap. Doing so will reduce waste and overspray.
Prep your workspace
Before getting to the tools, as with any task to do with your hydraulic brakes, it’s important to remove the sensitive braking surfaces from your bike. So take your wheels out of the bike and remove the pads from the caliper. It’s vital to store the wheels and brake pads far from when you’re working to avoid any chance of contamination as you'll be working with brake fluid inside the caliper which can drip.
As the wheels must be removed to prevent the contamination of the brake rotor, this is a job that's best undertaken with your bike in a work stand.
Arrange the pistons
To clean and lubricate the pistons, they must first be exposed. As such, you’ll need to push them out which will allow you to get to the portions of the pistons that'll usually remain unseen.
This is where that small Allen key comes into play. Place it into your empty caliper and gently squeeze on the brake lever until the pistons come out and lightly contact the Allen key. Don’t squeeze the lever too hard or you’ll risk damaging the pistons which may then ruin the seals and become a costly repair.
Clean and lubricate
With the pistons proud in the caliper, soak your cotton bud in the isopropyl alcohol or brake cleaner and lightly scrub the outer surface of each of the pistons. It won’t take long until you see the cotton bud blacken with the dirt.
When the cleaner evaporates, dip your cable tie or toothpick into the brake fluid and apply it to the outer surfaces of the pistons. Note – do not apply to the face that contacts the brake pad as it’s unnecessary and will increase the chance of contaminating your brake pads.
Applying brake fluid acts as a lubricant and it’s essential to use the brake fluid for your brake. Mixing them up or using a different lubricant entirely will contaminate the fluid that's already in the system, and can prematurely perish the caliper's seals.
Push the pistons back
Now, it’s time to coax the pistons back to their idle position, recessed into the caliper body. To do this, use a soft-faced object (a plastic tyre lever is ideal) and push the pistons in one by one. Make sure that each piston is returning into the caliper square and keep an eye out for excess leakage. Also, make sure that any other pistons aren’t pushing themselves out.
Rinse and repeat
When I say rinse, I mean wipe with a clean rag to remove any excess fluid. Once clean, repeat this whole process one to three more times. Doing so will ensure a clean and slippery surface that’ll help your pistons move freely in their seals and result in the sharpest braking possible.


