How to bleed your MTB brakes - Shimano, Hope, TRP and Tektro tips
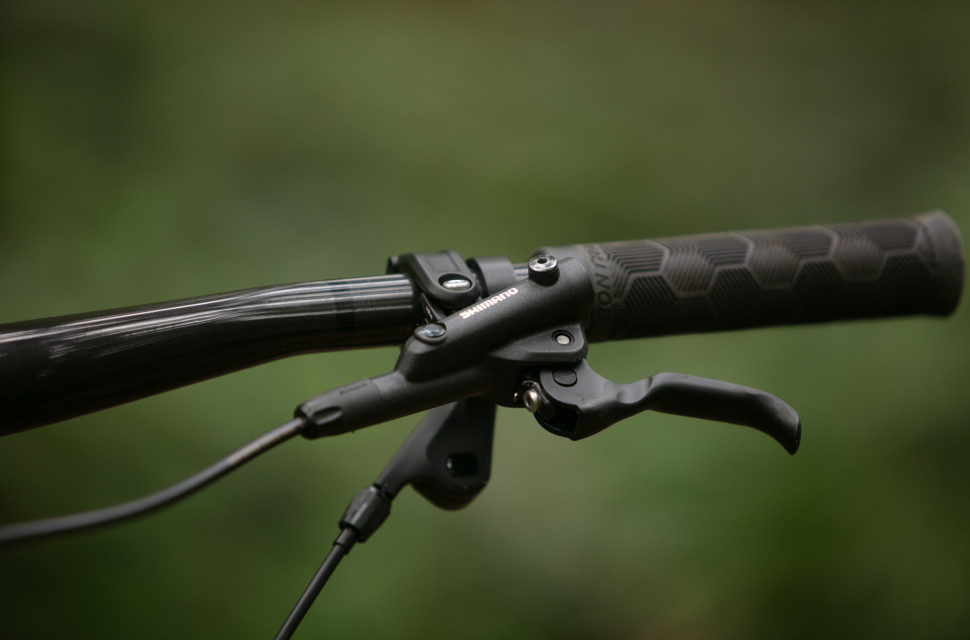
Although it may sound intimidating, bleeding your brakes is simple and stress-free, given that you follow the steps correctly. Done annually, it will restore your braking performance and power. Many brake bleed processes are different but if you run Shimano, TRP, Hope, Tektro or any brake that uses a one-way or cup-style bleed, here's everything you need to know.
- How to clean disc brakes on a bicycle
- Mechanical vs hydraulic disc brakes – understanding the differences
- Your complete guide to Shimano mountain bike disc brakes
What is a brake bleed?
Bleeding your brakes is a simple service to either remove air from your brake fluid or replace the fluid entirely.
At the very least, full brake bleeds should be done annually as brake fluid can become contaminated over time. However, there is a range of situations that may lead to your brakes requiring to be bled, such as after trimming or replacing your brake hoses or after the installation of new brakes on a bike with internal cable routing as these require the hose to be removed from the lever and/or caliper, posing an opportunity for air or contaminants to enter.
How do I know if my brakes need bleeding?
A surefire way to find out whether your brakes need a bleed is to give the levers a pull. They should feel sharp and powerful with a clear and definite bite point (the point at which the brake pads hit the rotor). If the brake lever feels extra squishy or spongy, or if the brake’s bite point moves away from the bar the more often you pull the brake, that means there’s air or a contaminant in the system and the brake has to be bled. This also goes if your brakes aren’t as powerful as they once were or don’t feel as great but your brake pads are okay.
How are bleeding Shimano, Hope, TRP or Tektro brakes different?
These brake brands use a different method of bleeding, relying on a cup that sits at the lever, rather than a pair of syringes that pushes fluid from one end to another, as seen on SRAM brakes among others.
The benefit of this bleed is it's easy and doesn't take long. It also allows the lever to be bled independently, which can be a saviour during race weekends. It's also easier to top up fluid if the funnel runs dry mid-way through the process.
If you're bleeding SRAM brakes or similar, those use a different method. Here's how to Bleed SRAM and Hayes
What do I need?
- A bleed kit corresponding to your brake brand or model including a cup, a length or surgical hose, and any necessary fittings. Not all funnels fit all brakes.
- Brake fluid that’s recommended by brake brand (DOT fluid and mineral oil is not cross-compatible. Use only what’s recommended by your manufacturer)
- Brake cleaner
- Paper towels
- A 2.5mm Allen or corresponding Torx
- 7mm spanner
- Bleed block (can be substituted with something hard that’s the size of the inside of your caliper)
- A vessel to catch fluid
- Zip ties
- Gloves
- A work stand
The method
Known as a gravity bleed, this isn't the method recommended by Shimano but it's used by some mechanics in the field. It's similar to bleeding a car or motorcycle brakes. I follow this method to bleed any brake of this style and, each time, I've achieved a perfect bleed without too much effort. This method also makes topping up extra fluid easier.
For the curious, Shimano recommends you install a syringe filled with fluid at the caliper and push the fluid through to the funnel. This will push even more air out of the system if needed.
Both methods work with all brakes that use the one-way bleeding system, whether a mountain bike or gravel brakes.
1. Prepare your work area
You’ll need to arrange a clean work area but most importantly, remove your wheels from your bike and the pads from the caliper. It’s best to place the wheels in a safe area as a stray drop of any brake fluid on a pad or rotor will likely destroy all performance.
Insert your bleed block into the caliper.
2. Prepare the lever and cup
Next, set your lever so the bleed port is parallel to the ground. Then, using your 2.5mm Allen, or the correct Torx (depending on the model and brand of your brake), remove the bleed port screw and the o-ring that’s sat inside.
Then screw in the cup and fill it partially with the correct brake fluid or mineral oil.
- Hope brakes require you to unscrew two Torx bolts, and remove a top cap and a rubber diaphragm. You then replace the diaphragm with the rubber gasket included in your bleed kit, then screw on the threaded top cap and screw on the cup.
3. Prepare the caliper
At the other end of the brake, insert the bleed block between the caliper's pistons and push a piece of surgical tubing onto the bleed nipple. Loosely attach a small cup or similar to the bike frame using zip ties and place the other end of the tubing into it.
On the other end of the tubing, you'll need something to catch any flushed fluid. Here, I've taped a nitrile glove to the end of the tube. You can zip-tie an old fluid container or similar, and place the tube inside.
TRP and Tektro brakes require a threaded adapter attached to the surgical tubing. This screws into the bleed port and should be included in your bleed kit.
4. Bleed the brake
Remove the plug or plunger from the cup and now it's time to bleed the brake. First, using the 7mm spanner, open the caliper’s bleed port only turning anti-clockwise a quarter turn. Then squeeze the lever. That should push out a mix of fluid and air or if you're bleeding from dry, it'll get the fluid moving through the system. Tighten the bleed port, release the lever and repeat until no air bubbles are present in the surgical tubing or until the fluid runs clear.
Tightening the bleed port after each pull of the lever will stop any air from being sucked back into the system.
5. Bleed the lever
Once you’re happy there’s no air in the system, nip up that bleed port and focus your attention on the lever. Here, simply squeeze and release the lever until bubbles stop rising into the cup.
To make sure every bubble is removed from the system, tap on the hose and the lever body as you go.
6. Finish up
With no more air finding its way into the cup, that’s your bleed done. Pop the plunger back into the cup and place all the hardware making sure any o-rings are back where they belong.
Before putting the wheel and brake pads back, remove the bleed block and use your brake cleaner (or similar) and paper towels to clean any excess fluid from the brake lever, caliper, and any other areas of the bike where it may have dripped. Reassemble and you're ready to ride.
- If you're bleeding a Hope brake, when replacing the rubber diaphragm, roll the diaphragm back in place. This will push out any air that may get trapped underneath.
