5 Free ways to make your bike faster
[Updated 23.01.2022]
Going faster doesn’t have to be all about selling your worldly possessions to buy the lightest, most expensive ‘enduro’ or cross-country bike you can find. There are plenty of tweaks you can make to your current set-up that will add speed and, even better than that, they’ll boost your confidence too. Whether your mountain bike is 10 years or 2 months old, 26" or a 29er, steep or slack, these 5 tips will certainly help you go faster!
- 5 mountain biking myths that just aren't true
- The best hardtail and full-suspension MTBs you can buy for under £1500
- The best ways to find new mountain bike trails
1. Adjust tyre pressures
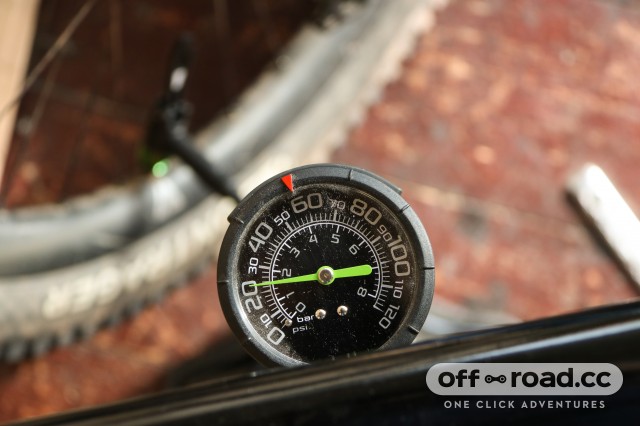
Correct tyre pressures will provide you with optimum grip and could shave seconds off your Strava times. Too much pressure and your ride might be a bouncy and jittery affair with less grip than you’d like. Not enough air and you are in danger of damaging your rims or puncturing the tyre, both expensive problems that might entail a walk home.
As ballpark figures, we reckon that an average 70kg rider can roll with 22PSI in the front tyre and 24PSI in the rear when using an averagely wide 25mm internal diameter rim and 2.3” tyres. Riders that weigh less can afford to let more air out, whilst heavier riders will need to add some, experiment by going up a PSI or two at a time.
If you run wider rims and wider tyres then you might find that you can lower these even further. For example, one of our product testers is about the 70kg mark, rides on 40mm external wide rims with 2.8” inch Specialized Butcher Grid tyres and typically runs pressures as low as 14-PSI up front and 18-PSI at the rear.
Getting your tyre pressure correct will mean that you will have access to as much grip as the tyre can afford you, lower pressures mean the tyre can deform to the ground better for traction. Checking tyre pressures should be a regular part of your bike maintenance routine. For this, we use a Topeak Smartgauge D2X to keep an eye on pressures before each ride.
There are, of course, other factors that come into play here; ride conditions being one of them and tyre carcass being the other. If you are going to ride over really rocky terrain and your usual ride is loamy woodland then we’d recommend sticking in a couple of extra PSI to fend off ‘snake bite’ punctures and prevent you from rolling the tyre off the rim over harder ground. Also if you are running tyres with a less supportive compound (EXO rather than Double Down for Maxxis tyres) we’d say you might need to run a bit more pressure to prevent the tyre rolling too.
2. Clean your bike
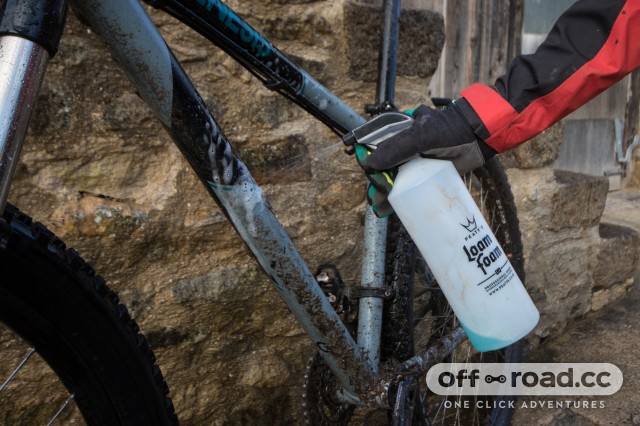
Not only does a clean bike look great and run better but cleaning your steed provides you with the regular opportunity to give it a once over and check everything is in working order. A fully working and maintained bike that operates smoothly will be faster than one with creaky bearings, wobbly bushings and a mud-caked ‘shelf’ near the bottom bracket!
off.road.cc on WhatsApp
All the latest offroad cycling news, tech and buying advice straight to your phone.Follow our WhatsApp channel here
A quick-fire guide to cleaning your bike starts with your bike in a stand so you can access all of the hard to reach places. Hose the bike down, getting rid of all those big chunks of mud. Apply the bike wash and agitate with the brushes, getting into all the nooks and crannies; we use a toothbrush for the hard-to-reach areas. Use the degreaser on the chain, a chain cleaning tool is a godsend here! Hose the bike down again, dry the chain and apply the lube to it.
We aren’t saying that you should meticulously clean every inch with a toothbrush after every ride, though. In fact, unless our bikes are properly muddy, we actually don’t wash them with water after every ride. If the bike is dry and dusty then getting it wet again might do more harm than good. Instead, we simply wipe and dust down the frame and remove dirt from the bearing housing (whilst checking all the bolts and moving parts for play) and then re-lube the chain. If the drivetrain is super greasy and dirt is sticking to it we might wash this a little more regularly to help prevent the build-up of dirt and grease that stops it from working so effectively.
3. Check parts for wear
Specifically here, we mean check the chain, tyres and brake pads for wear, these are the most important moving parts on your bike that need to be kept in tip-top condition. Deterioration of any of these components can have the effect of radially decreasing your performance and speed.
A stretched chain can cause shifting to become less smooth and it can start to wear other parts of the bike that cost quite a lot to replace, therefore keeping an eye on this integral piece of kit is a good idea. We spoke to SRAM and Shimano recently to get their advice on when you should replace your chain, all the info is here.
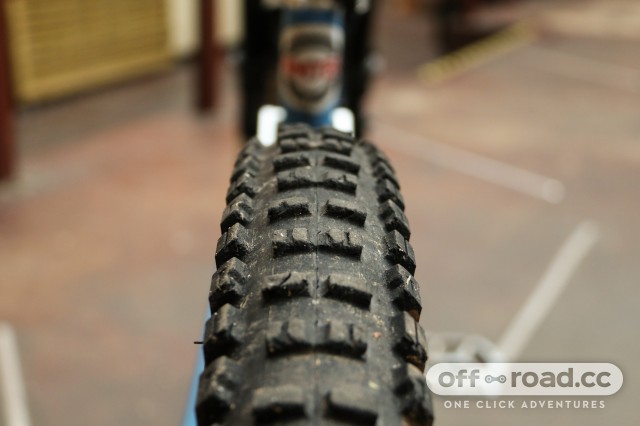
When it comes to tyres a lack of tread left means the grip will be diminished, trying to stretch out the life you have left in your tyre will ruin your ride and your speed! When you clean your bike down at the end of a ride check the tyre tread itself for wear including nicks and cuts, remember that softer compound tyres will wear faster. You also need to check the casing of the tyre for any slashes and also rubbing, we’ve been on uplift trucks before that have made savage rub marks in a tyre that we have then replaced afterwards. Replacing really worn out tyres with ‘freshies’ will probably feel like night and day in comparison, the grip and the support when cornering will return and you’ll be able to go faster again.
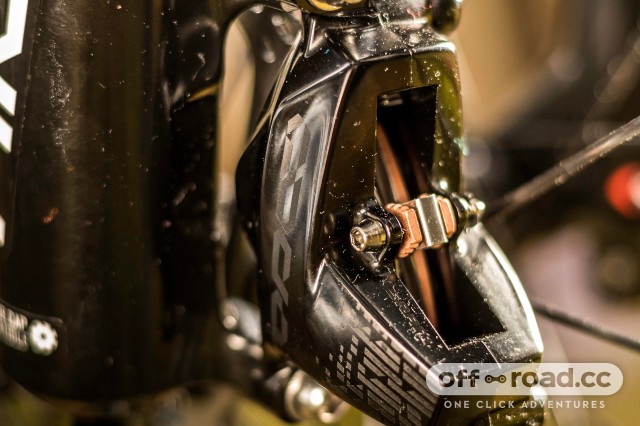
A regular check of brake pads is another thing to add to the list. If you have experienced the warning signs of a brake lever pulling to the bar or some nasty screeching then this will probably already be top of the list to check out. To see how much life you have left in your pads you will need to remove the wheel, take the brake pad out of the calliper and look to see how much compound is left on the backing plate. 1mm or less and you need to invest in some new ones! Having a good set of working brakes means that you will be able to brake more efficiently and more precisely, helping you up the speed in-between times!
4. Suspension set up
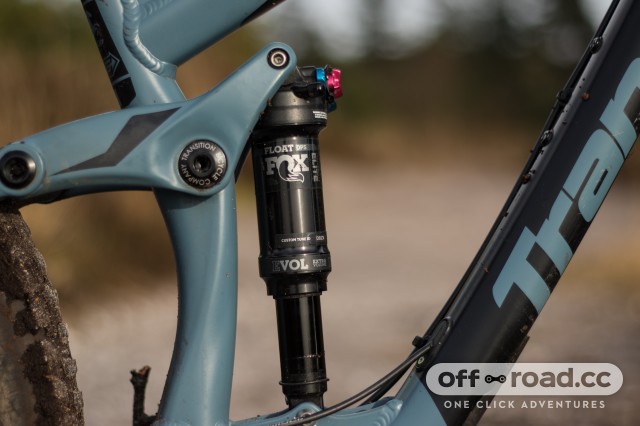
Taking some time to set up your bike suspension when you first get it is something we all do, either on our own or with the bike shop that you purchased the bike from. It’s also a good idea to keep an eye on your settings over time to make sure they are always the same.
As forks and shocks are put through their paces and exposed to the elements they can wear and lose air over time which will affect the ride. The terrain and other outside inputs like rider weight can have a vast effect too so if any of these things are changing, it’s worth revisiting sag, rebound and compression damping (if your kit has this setting) and checking everything is still set to produce the best (and fastest) ride for you.
Losing weight in the January detox might mean that you need to take a little air out of your forks and shock to reach the right sag point again. Similarly, with less air in the shock, you might need to dial on some rebound compression damping so your shock still feels the same as it did previously.
Riding over very rough and rocky terrain might also cause you to toggle with the settings in your fork and shock. For example, rougher tracks might require less compression damping depending on the size of the holes and more chunky technical terrain might require a touch more rebound damping to stop the bike from feeling skittery or bucking you about, but don’t slow it down too much or the shock is likely to ‘pack down’ and not recover after big hits.
5. Adjusting bar height
Last but not least, bar height can have quite an effect on how your bike rides and how you feel on it. In short, raising your bars can improve your ability to weight the front wheel and therefore traction by allowing you to stand tall rather than having to squat and reach down to the bars. It’ll be less ideal for climbing but better on steeper descents, everything is a trade-off.
If your bike is pretty slack and you are having trouble making the front end grip in corners you can try experimenting and adding a spacer or two below the stem. More confidence and more grip = speed.
Let us know in the comments section below how you get on! If you have any other tips for making your bike go faster we'd like to hear them too!
