Five mountain bike setup mistakes beginners make
With all the angles and component sizes on a mountain bike, getting your bike correctly set up can be tricky at the best of times. And you don’t want to rush or neglect it because even a dream mountain bike build will be a nightmare to ride if set up incorrectly.
- How to go bikepacking: a beginner's guide to getting started
- How many spacers should I install on my bottom bracket?
- The best mountain bikes for under £600 - our top picks
Riders come in many sizes and physical abilities. Even two riders of similar heights will have different levels of flexibility and that influences bike setup. Each rider will have quirks and preferences but broad mechanical principles apply to getting your bike close to that ideal baseline setup for the singletrack.
Here are five tips to help you avoid bike set-up frustration and get the most out of your mountain bike.
1. Don't follow a tyre's recommended pressure rating
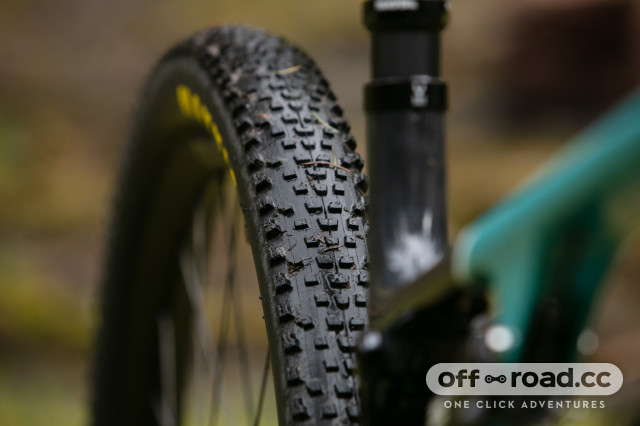
The easiest bike setup feature to adjust, with the most influence on your riding, is also often done wrong. It’s the tyre pressure paradox. However, it's understandable that you might be riding with overinflated tyres, your tyres tell you to but to achieve the best performance out of your tyres, ignore these recommendations and go lower.
Riders do the finger pinch test – a wildly inaccurate way of estimating correct tyre pressure – unless you are a UCI World Cup pro team mechanic (and even they use digital gauges).
Getting your tyre pressure right takes only a few moments of pumping or releasing air as well as a few exploratory runs to dial in the right balance of grip, rolling speed and puncture protection. Modern mountain bike tyres are engineered to run at lower pressure, increasing their contact patch, traction and rider confidence.
Many riders overinflate their tyres to prevent pinch flatting but an overinflated tyre will pinball your steering through a rock garden and create a much harsher ride. Rims have been redesigned with wider beads, decreasing the pinch-flat risk and, if you’re still worried about flatting at lower pressures, there’s always the option of tyre inserts. Don’t put your riding under pressure by over-inflating your tyres. Less is more.
However, go too low and the tyre will lose stability, and squirm on the rim under high loads and grip will be reduced as a result.
off.road.cc on WhatsApp
All the latest offroad cycling news, tech and buying advice straight to your phone.Follow our WhatsApp channel here
2. Don't run the wrong saddle height
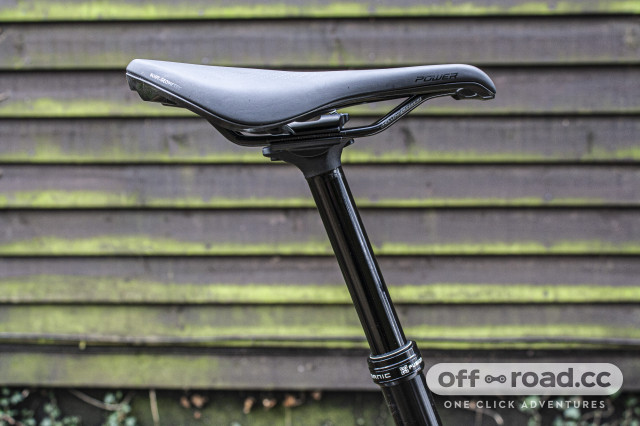
Even with dropper posts becoming standard on all kinds of mountain bikes, getting your saddle height perfect will avoid injury and make more efficient use of your legs' muscles for better pedalling.
Set your saddle too high or too low and you won't be making the best use of the power hidden within your legs. Plus, either position can encourage unwanted movement in your lower back, which will result in back pain and at worst, injury.
To find an excellent ballpark saddle position, sit on your bike with the seat post extended and your heel on the pedal, with the pedal at the six o'clock position. Your leg should be straight, then when your foot is in the natural position on the pedal, there should be a slight bend at the knee. If this isn't the case, adjust your saddle height higher or lower until it's achieved.
3. Don't ignore your suspension
Beyond tyres, the other air-pressure adjustment that’s easy to do but often done wrong is suspension sag. Most forks and shocks use an air spring that must be inflated to achieve its proper performance for your weight. Neglecting to do this simple step will mean that your bike and its suspension will not work as intended, becoming uncomfortable and limiting any available grip. The bike's geometry may be affected, too.
At this point, in-depth knowledge of rebound and compression isn't imperative but knowing how to set sag properly is an absolute must. However, if you're interested in learning how to get the perfect suspension setup, head over to our how to set up your mountain bike suspension guide.
Sag is the amount that your suspension compresses when the bike is weighted as you're sitting or standing on it. It’s measured in percentages with some suspension manufacturers having handy number guides on the fork or shock stanchions to help you dial it in. All mountain bike frames come with a recommended sag percentage from the manufacturer. However, as a general rule of thumb, a range of 25-30 per cent at the front and/or rear is ideal.
Getting your sag set correctly is easy. A shock pump and a ruler or measuring tape aren’t expensive, and they last a lifetime. Let a riding buddy or a wall help stabilise you and, before standing on the pedals in your riding gear, push the o-ring on your fork or shock stanchion down to the seal before dismounting without bouncing on the pedals. Check how far the fork and shock o-rings have moved and use that to guide how much air you need to add or release from your suspension to get close to the recommended sag settings.
4. Don't neglect lubrication
Most mountain bike drivetrains are exposed to the elements and their lifecycle depends on chain hygiene. The more disciplined you are with wiping, degreasing and lubricating your chain, the longer your entire drivetrain will last. Crisp shifting is a consequence of good chain and drivetrain hygiene.
Year-round riding means lots of winter mud and grime, which acts as a grinding paste on your drivetrain. This is especially true if you don’t clean your chain after a ride and let those trail contaminants harden. Drivetrain components are expensive and a clean, adequately lubed chain will help your mountain bike’s cassette and chainring last months (or years) longer than a neglected drivetrain.
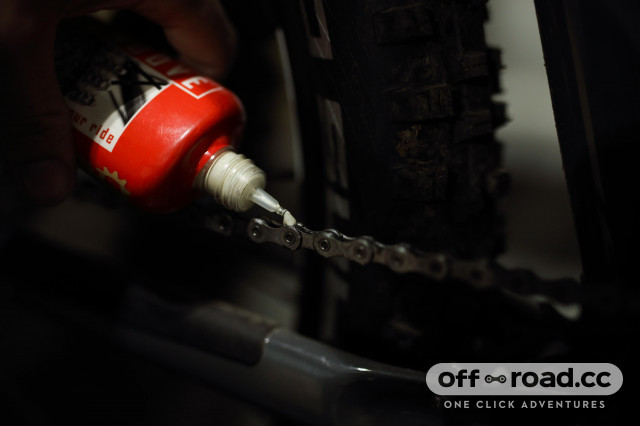
After most rides, you just need a simple chain wipe and lube added to each link. Most lube dispensers have a nozzle designed to drip lube with gentle finger pressure on the bottle instead of squirting lube all over the chain, which is excessive and wasteful.
5. Dial your brake lever angle
Hydraulic mountain bike brakes are so powerful you only need a single finger to use them effectively, even in the steepest terrain. However, rider preferences for brake lever position vary a lot.
Some riders prefer a lever nearly perpendicular to the ground – or set ‘high’, a trend set by the great Yoann Barelli. Others like it angled at a decline – set ‘low’. When a bike is on level ground, those brake levers set at a perpendicular angle look odd and can feel uncomfortable to ride. But most mountain biking isn’t on level ground.
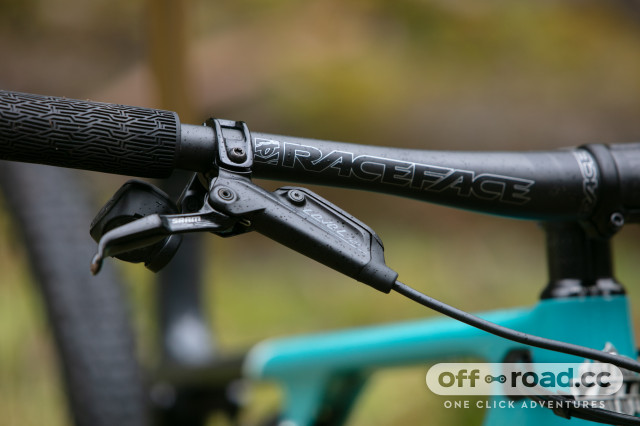
The best way to get a solid ballpark position is to sit or stand on your bike and line up your levers so they're in line with the angle of your forearms and pointed fingers. However, there's a lot of rider preference that comes into play here. Some may set the brakes at a higher angle for better purchase when descending, whereas others may set it lower as they find themselves riding with their weight over the front of the bike.
Either way, getting it right will reduce arm pump and minimise any strain-related injuries.
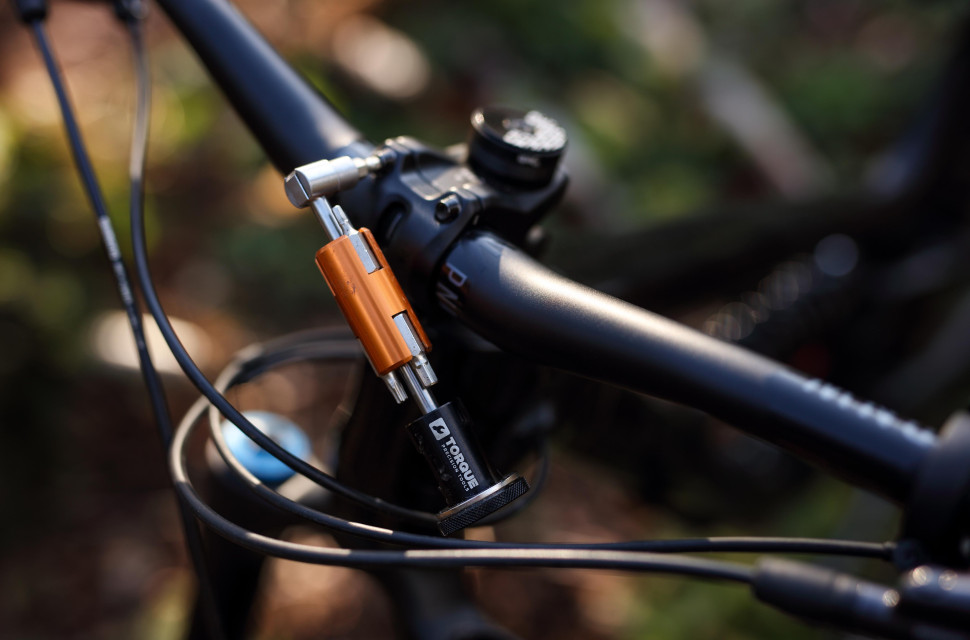
Brake lever angle is easily adjustable with a multitool, and the best way to get them at the best angle for your riding, finger strength and hand flexibility is to do trail testing. Don’t merely sit on your bike in the garage and adjust levers – because level ground brake feel isn’t what you need on the trails.
